This post is sponsored by Walmart. All product choices and opinions are my own.
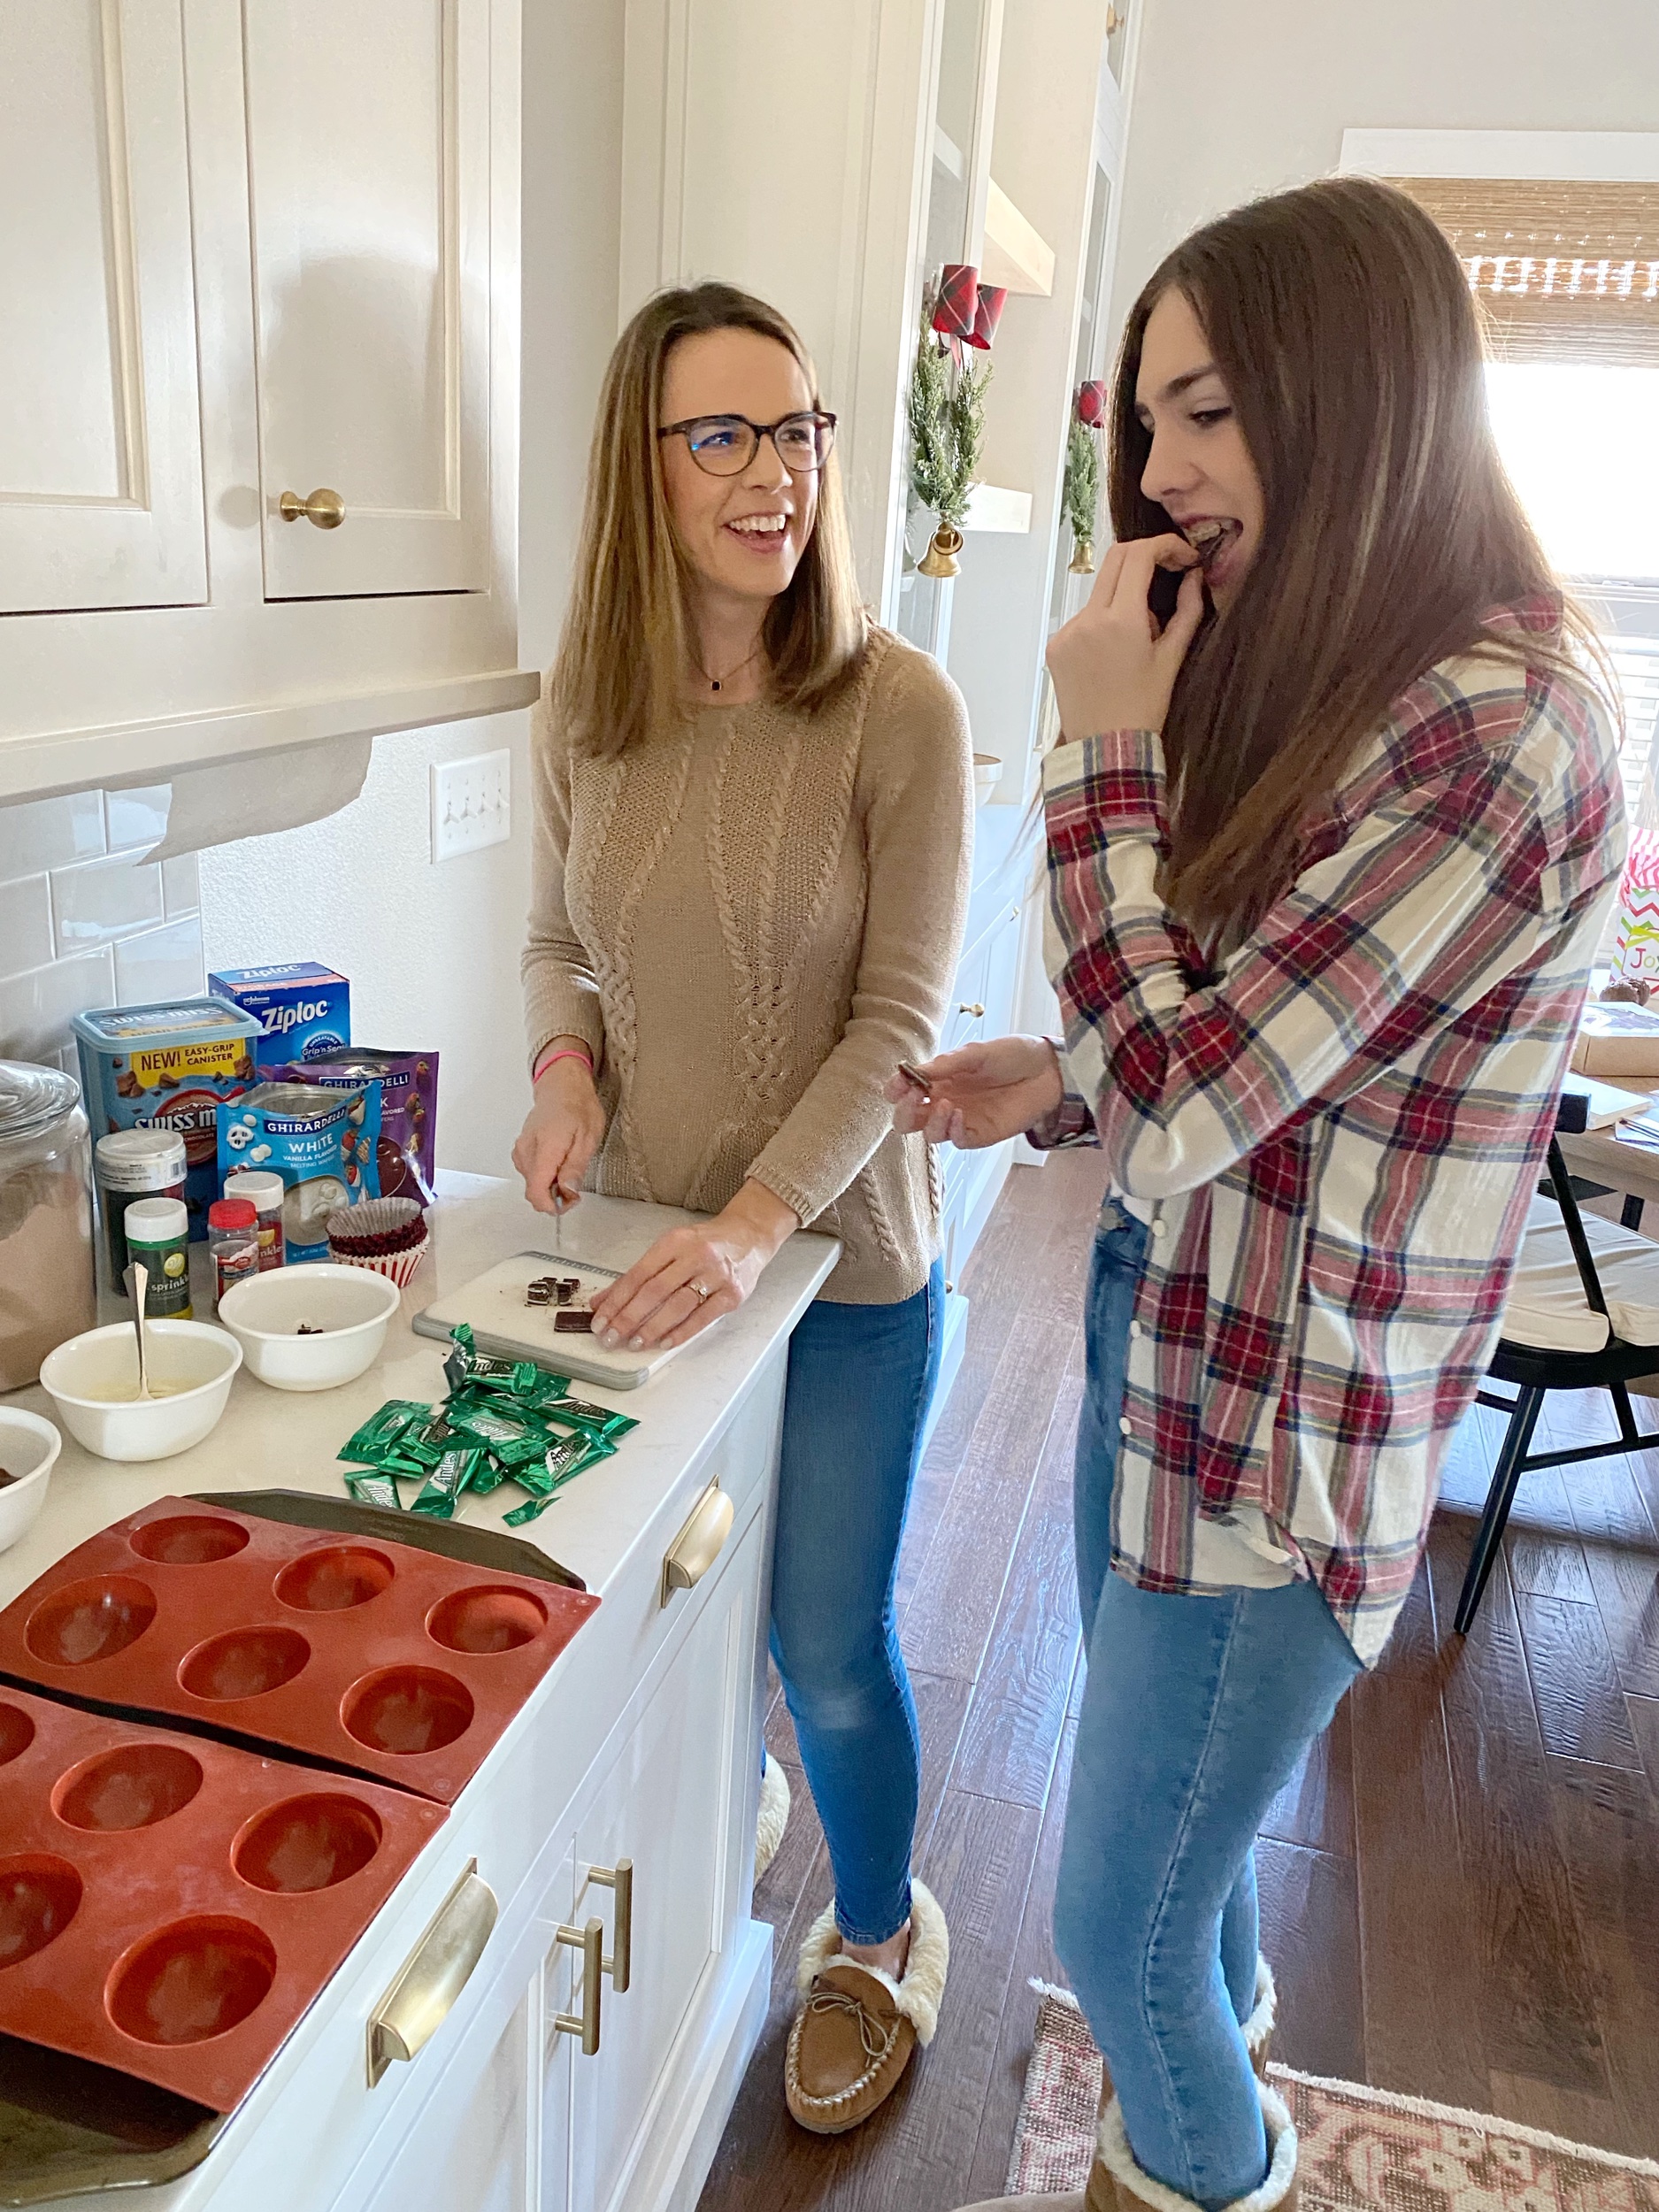
This is Ava’s idea of “helping” with the prep work! She definitely has her moms sweet tooth and can’t help but sneak a few bites! We always have a great time in the kitchen; especially during the holidays! Keep reading to see what we’re making and get the recipe!
By now, most of us have heard or tried this fun holiday treat! Last week, Ava and I made them with a friend and it’s quickly become our favorite holiday treat! It was so fun, we decided to give it another go and I knew Ava would help… In her own way! :)
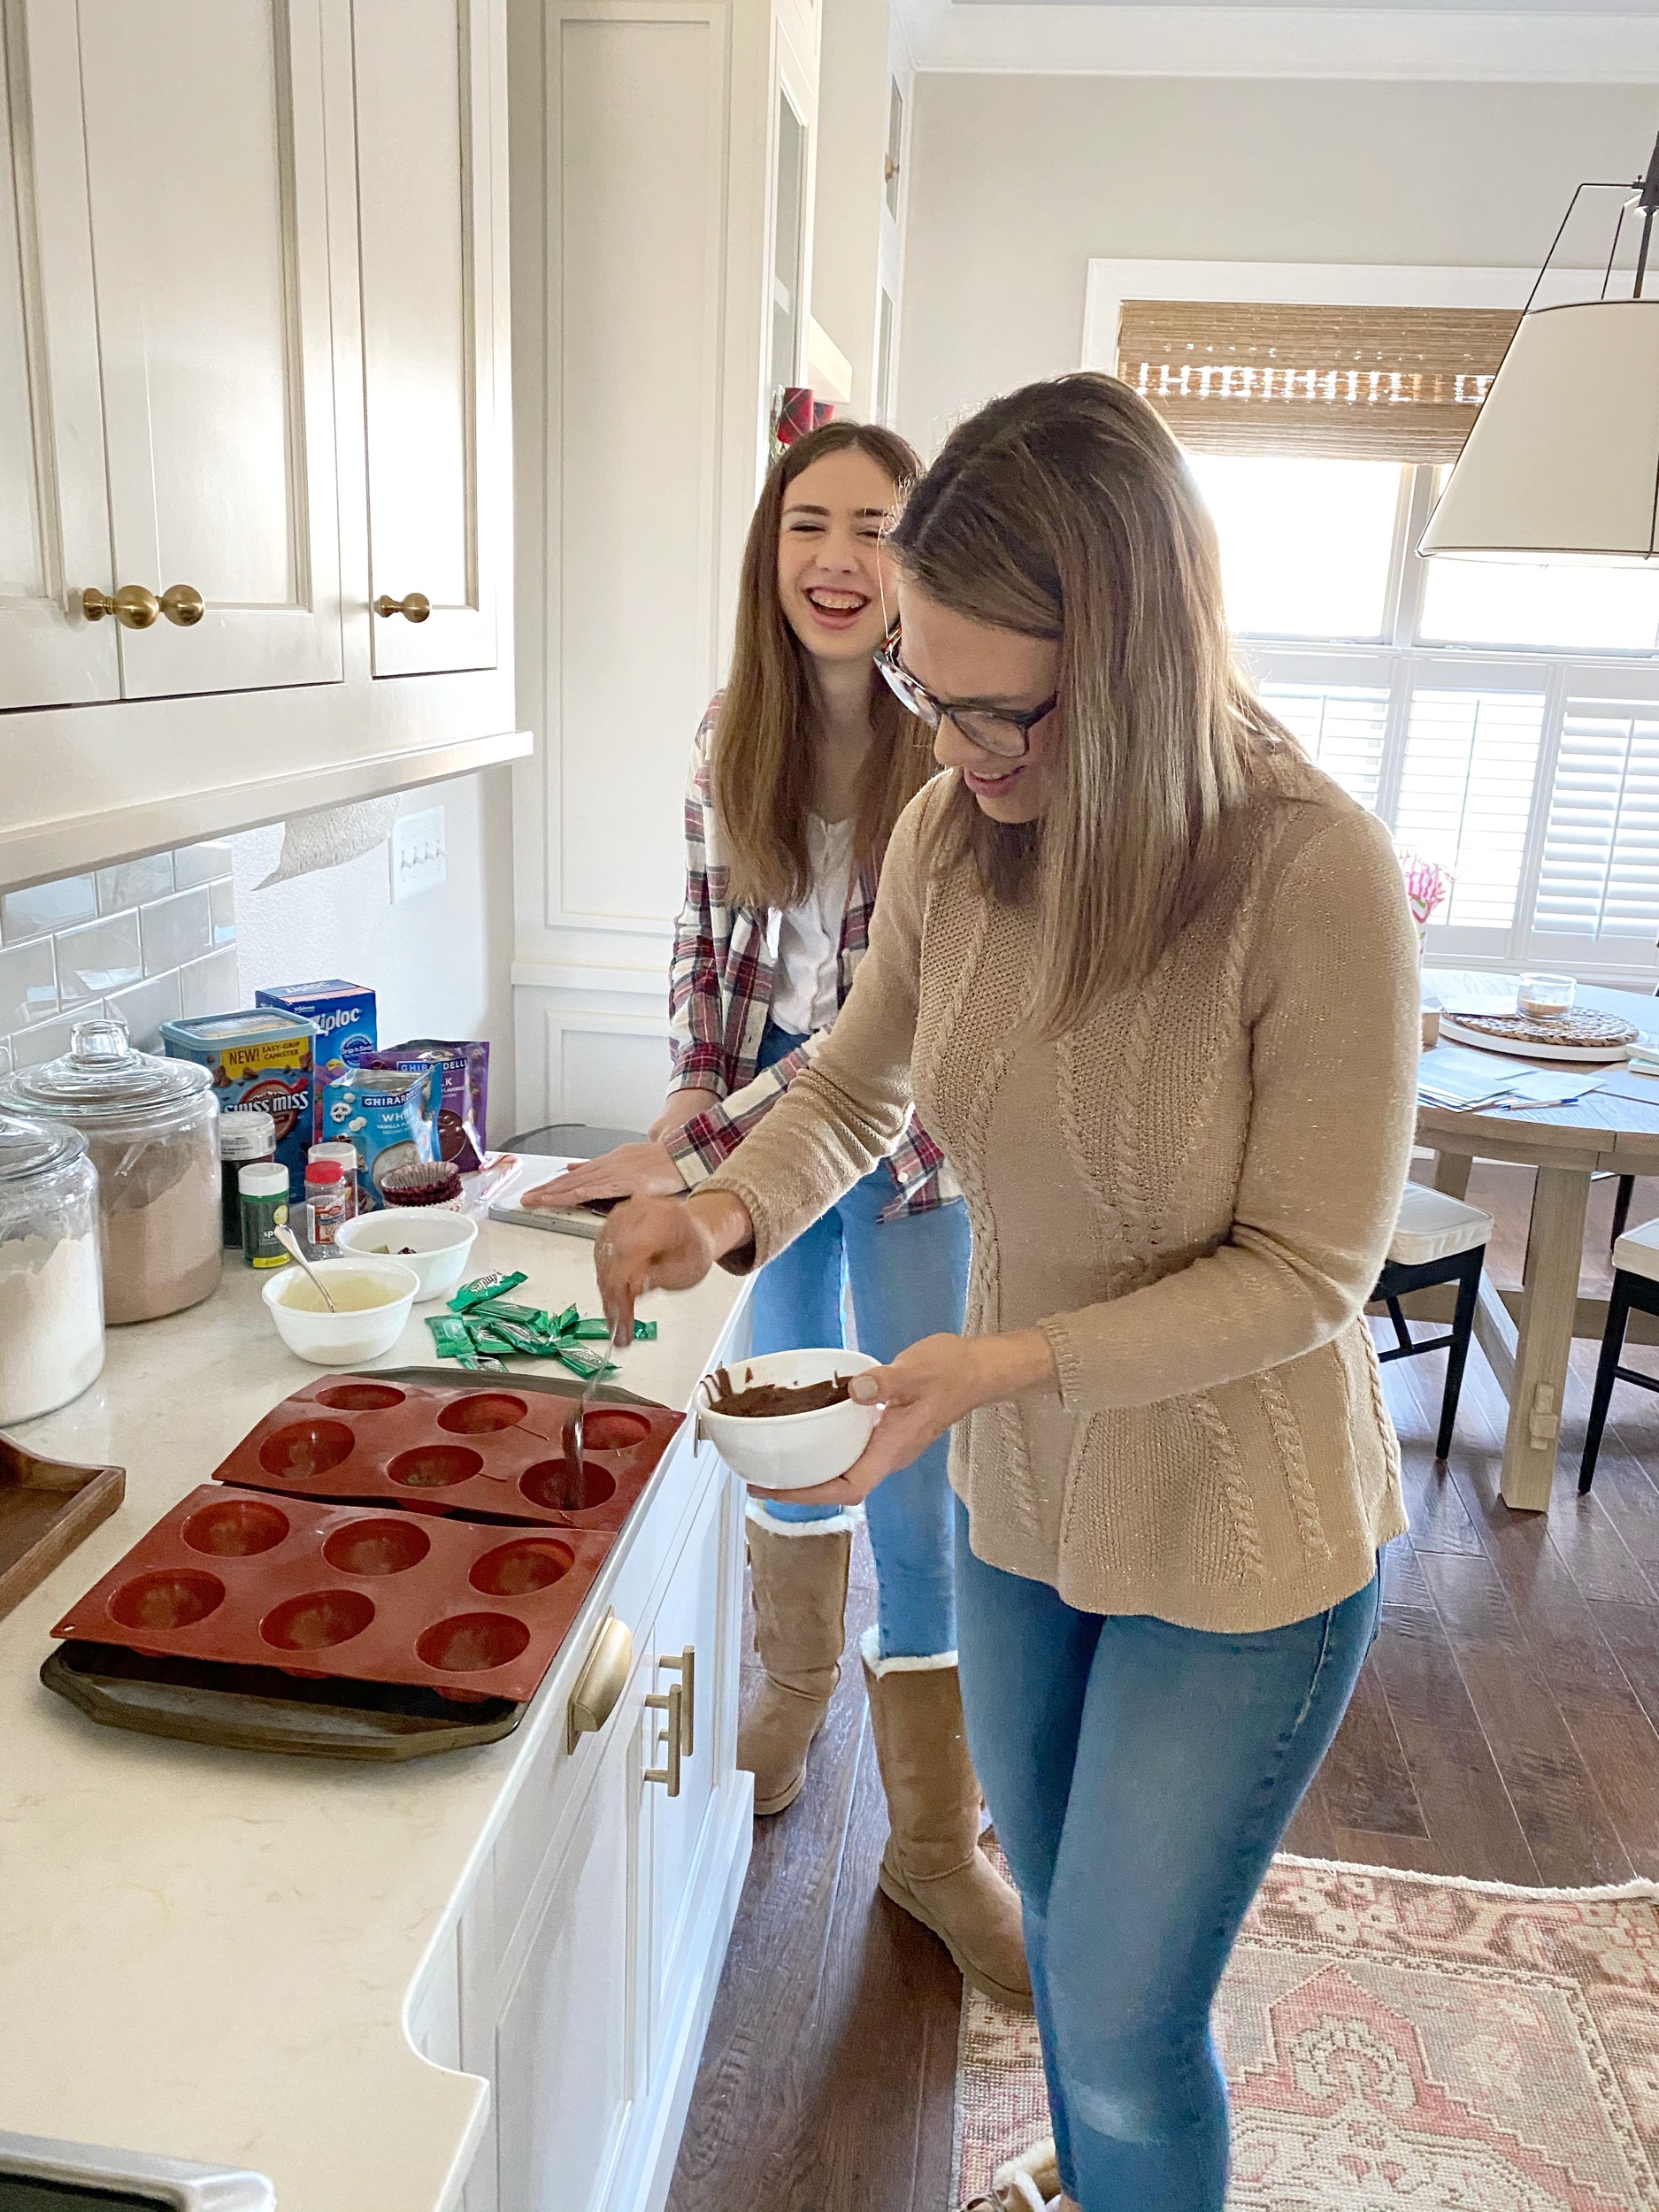
This time of year, we do the most baking and today Ava and I are sharing how to make Hot Cocoa Bombs! We have a hot cocoa station every Christmas, but this year looks a little different! We love the convenience of getting all of our grocery staples from Walmart. Walmart just launched a new benefit, Walmart +free shipping; no order minimum (excludes oversized/freight & Marketplace items), so you can get anything you need that you may not find at the local stores with next-day or two day shipping. We love the convenience and the same everyday low prices!
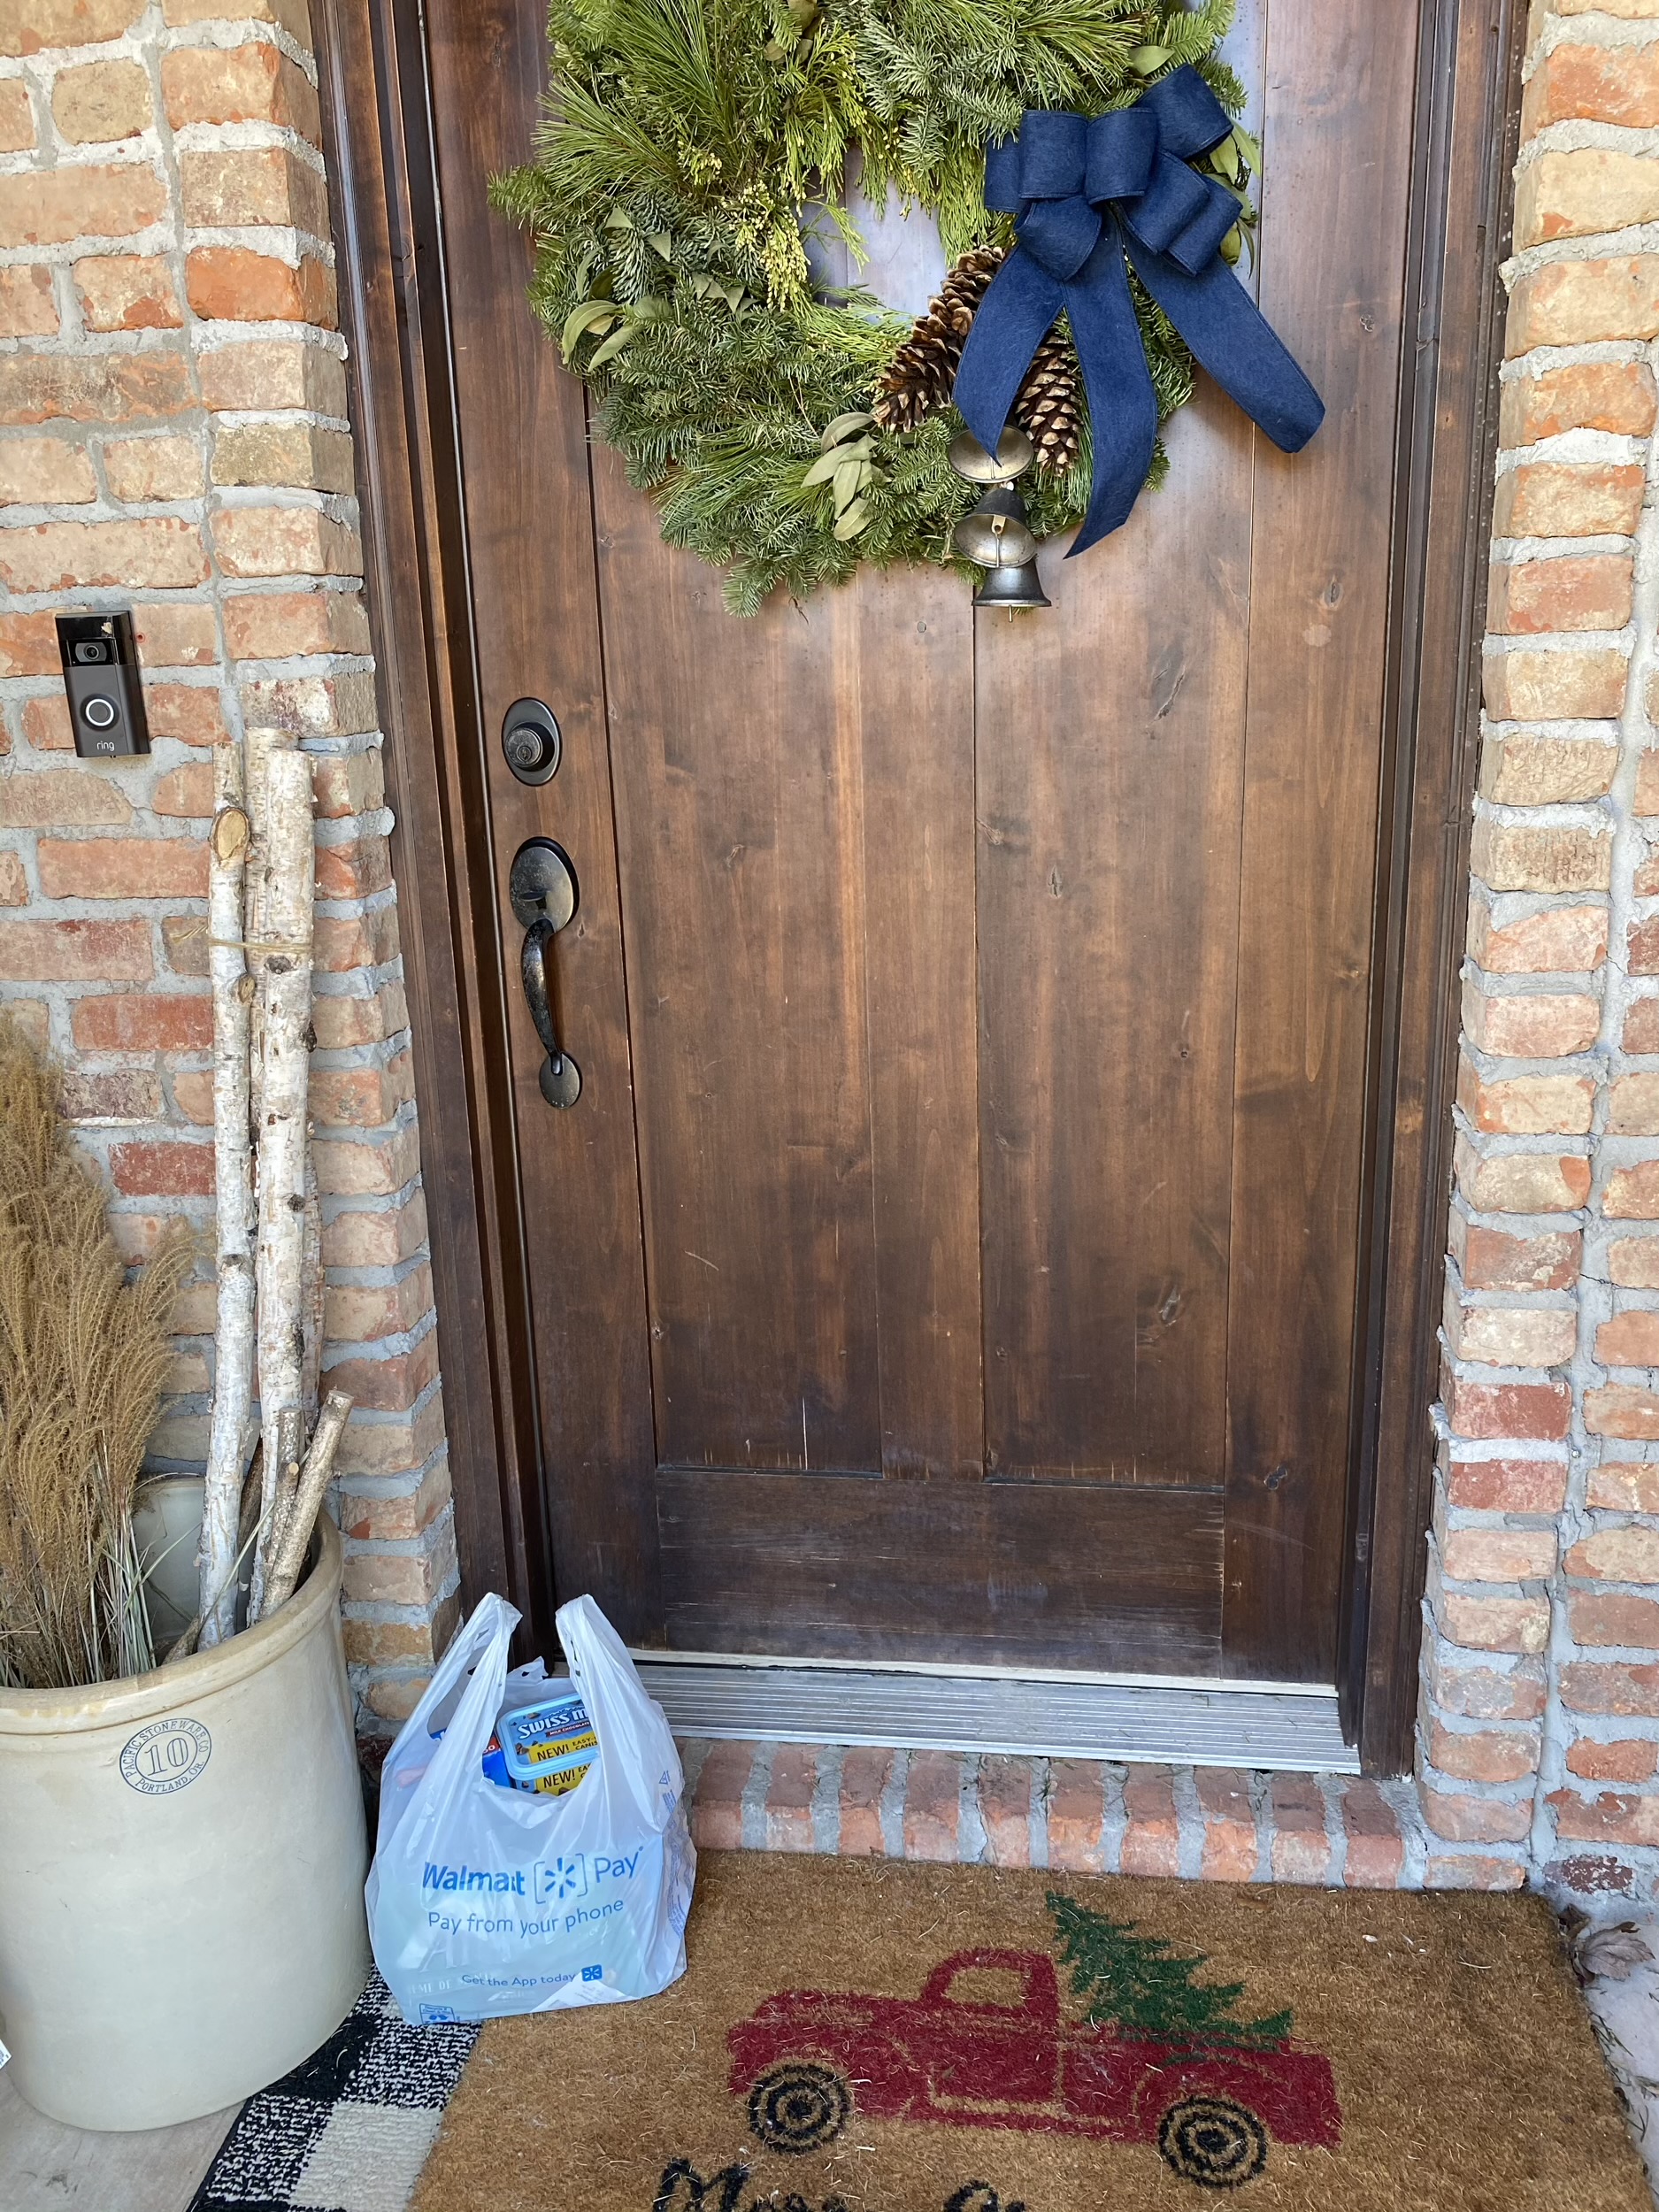
I ordered these items for our holiday treats through Walmart+ using the free delivery from your store ($35 min, restrictions apply) benefit and I love that it’s delivered on my doorstep. So easy and saves me so much time! You can learn more about it here and see if this is something you and your family can benefit from too!

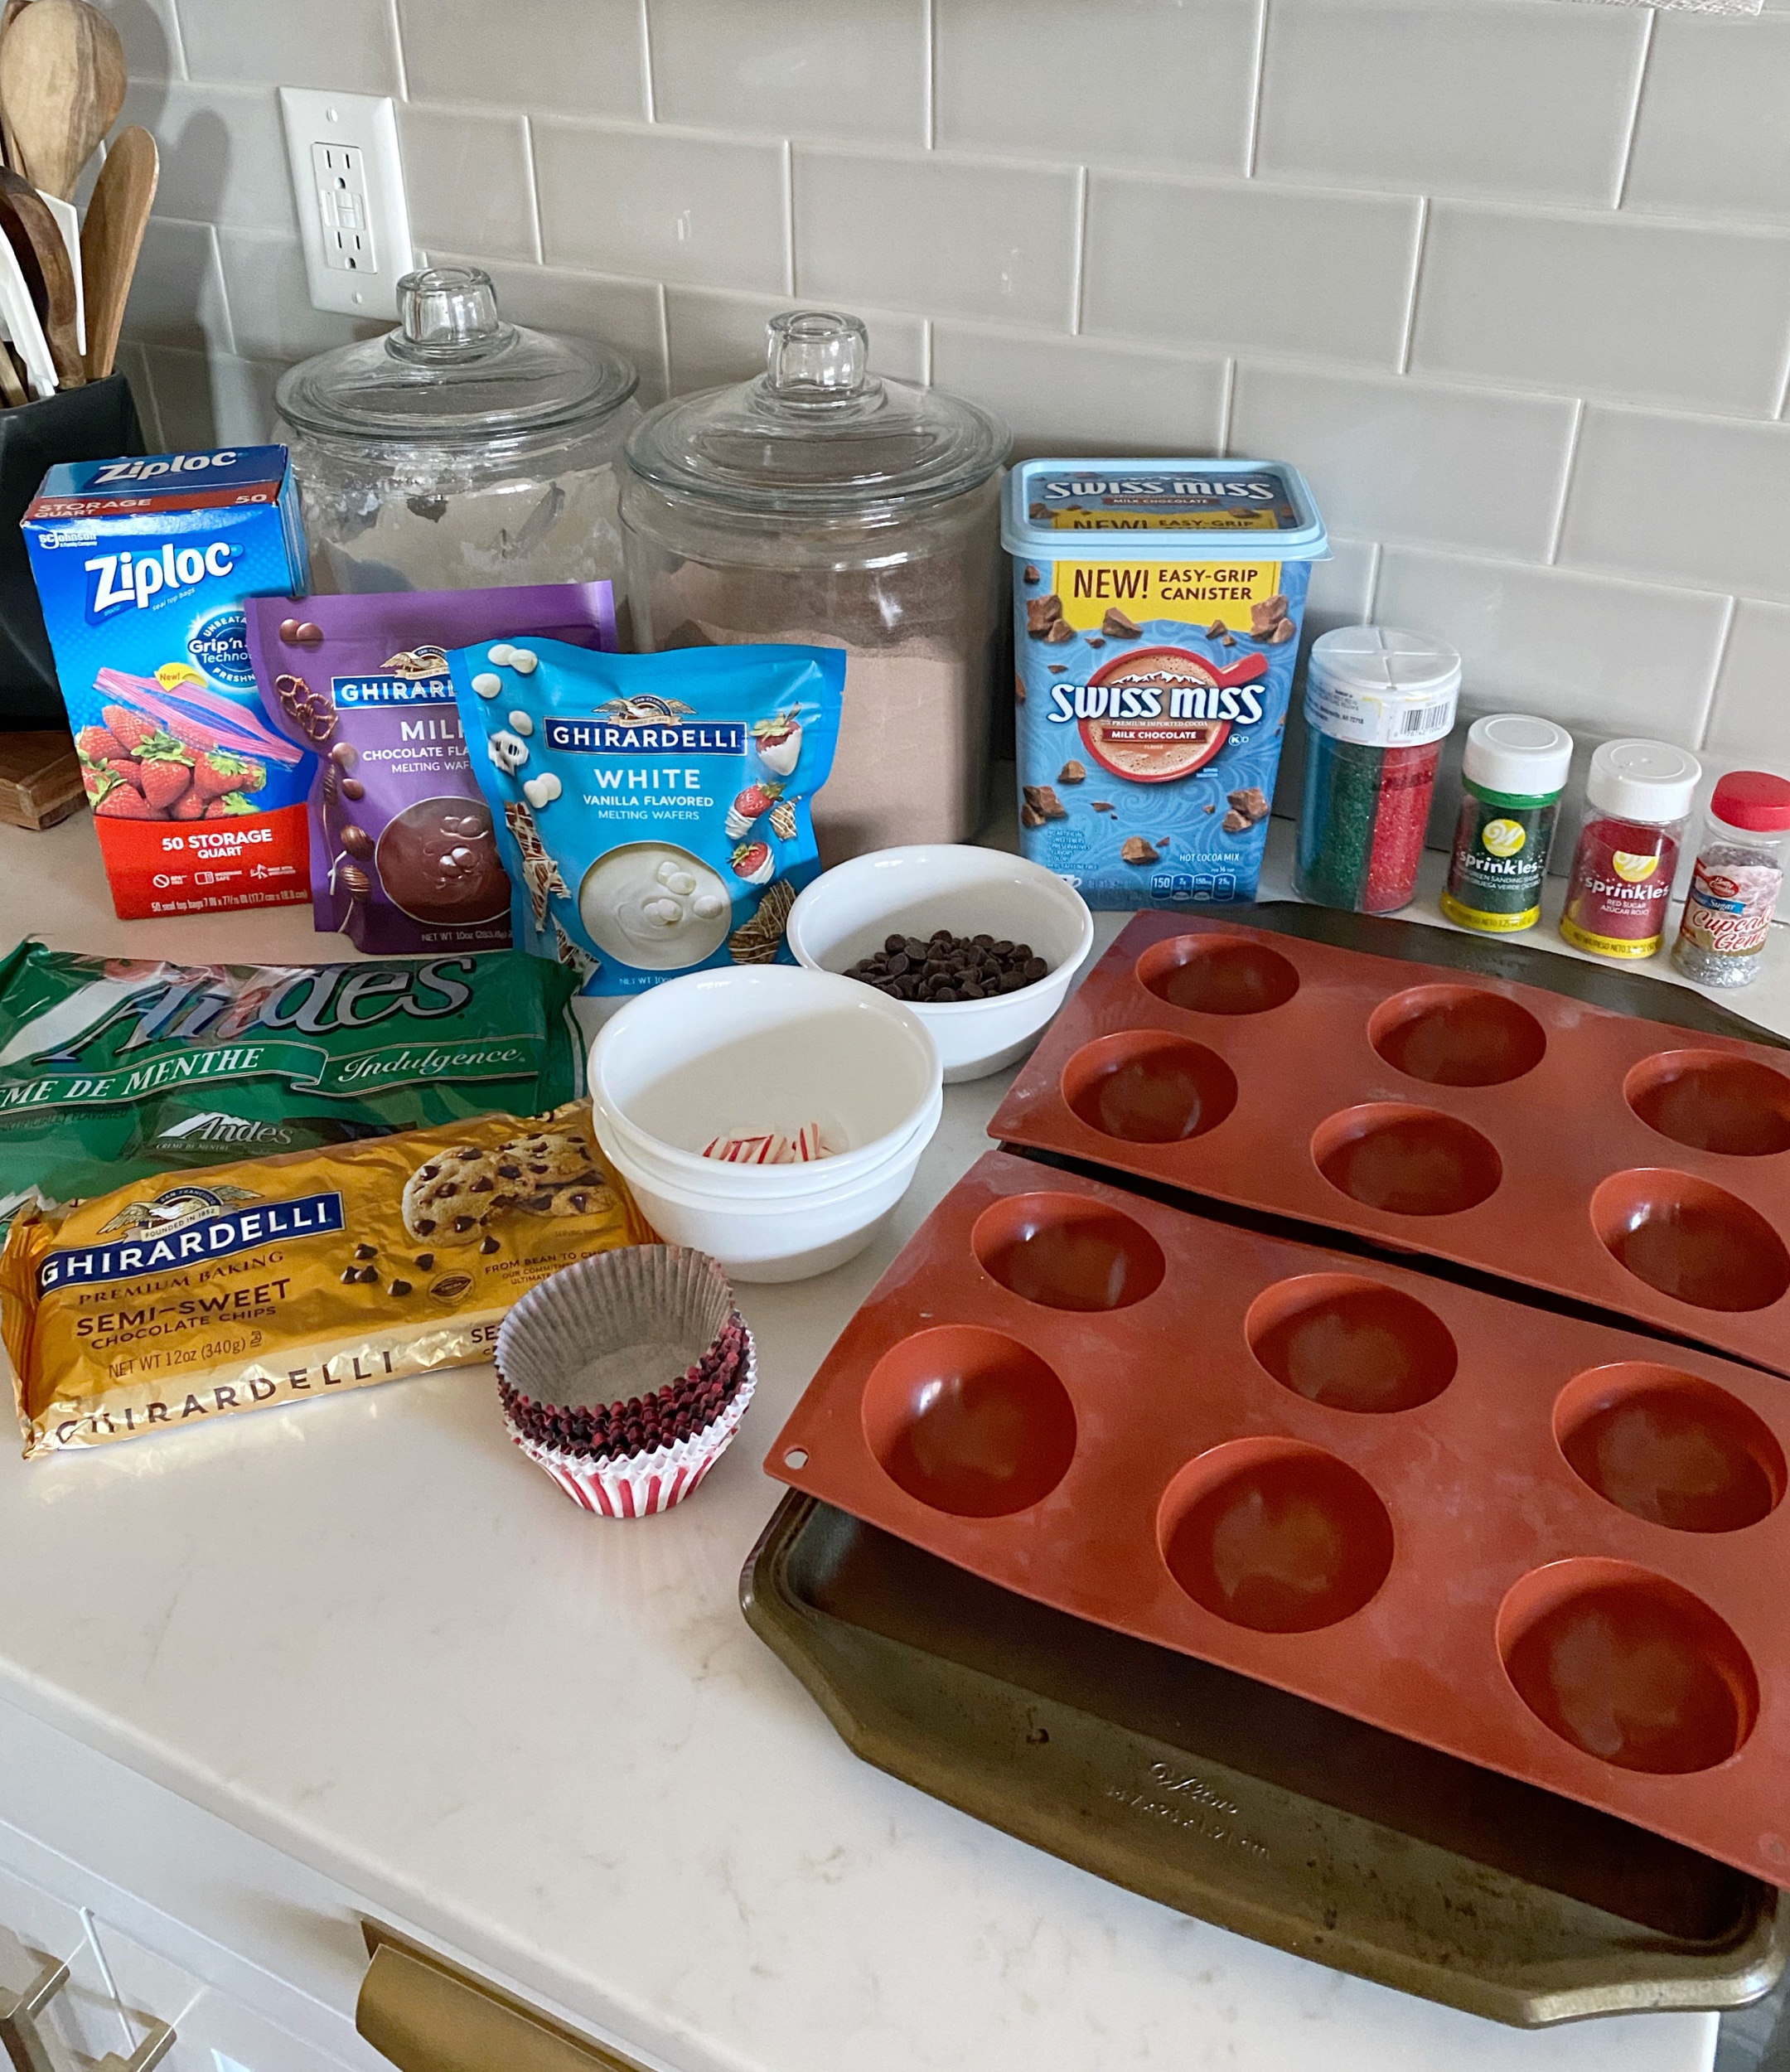
Here are the supplies you’ll need to make these fun and easy Hot Cocoa Bombs. I’ve sourced them here below for your convenience:
When we were making these with our friends, we created an assembly line to make it easier. I’ll include the recipe, tips and tricks at the end of this post! I love that we were able to get everything we needed at Walmart and have it delivered for free!
Hot Cocoa Bombs Supplies and Recipe:
Here’s what you need to make this delicious holiday treat!
- Quality chocolate – We recommend using Ghirardelli melting wafers in dark, milk and/or white chocolate to make the shells of your bombs.
- Hot cocoa mix – Use your favorite variety! We chose Swiss Miss milk chocolate cocoa mix. Note: You will only be able to fit about 2 teaspoons of mix in each cocoa bomb.
- Additional fillings – We obviously like to add mini marshmallows or dehydrated marshmallows to our cocoa mix, but be creative and add other things such as sprinkles, mint chocolate flakes or peppermint!
Here’s the supplies you’ll need to create your molds:
- Silicone molds – I used half spheres that are between 2-2.5″ in diameter. This recipe makes 6 hot cocoa bombs of this size using two molds. We recommend putting your molds in the freezer prior to making the shells. It makes for easier assembly later on.
- Microwave safe bowls – Use microwave safe bowls to melt your wafers. Microwave in two to three 30-second increments, stirring each time until you have a melted consistency. Once your wafers are melted and ready, remove the molds from the freezer and pour melted chocolate (one at a time) into the molds and use the back of a spoon to cover the half shell. Once you’ve made all your shells, place in the freezer to harden and repeat with the second mold. You’ll want to do this twice to both molds to achieve a thick candy shell.
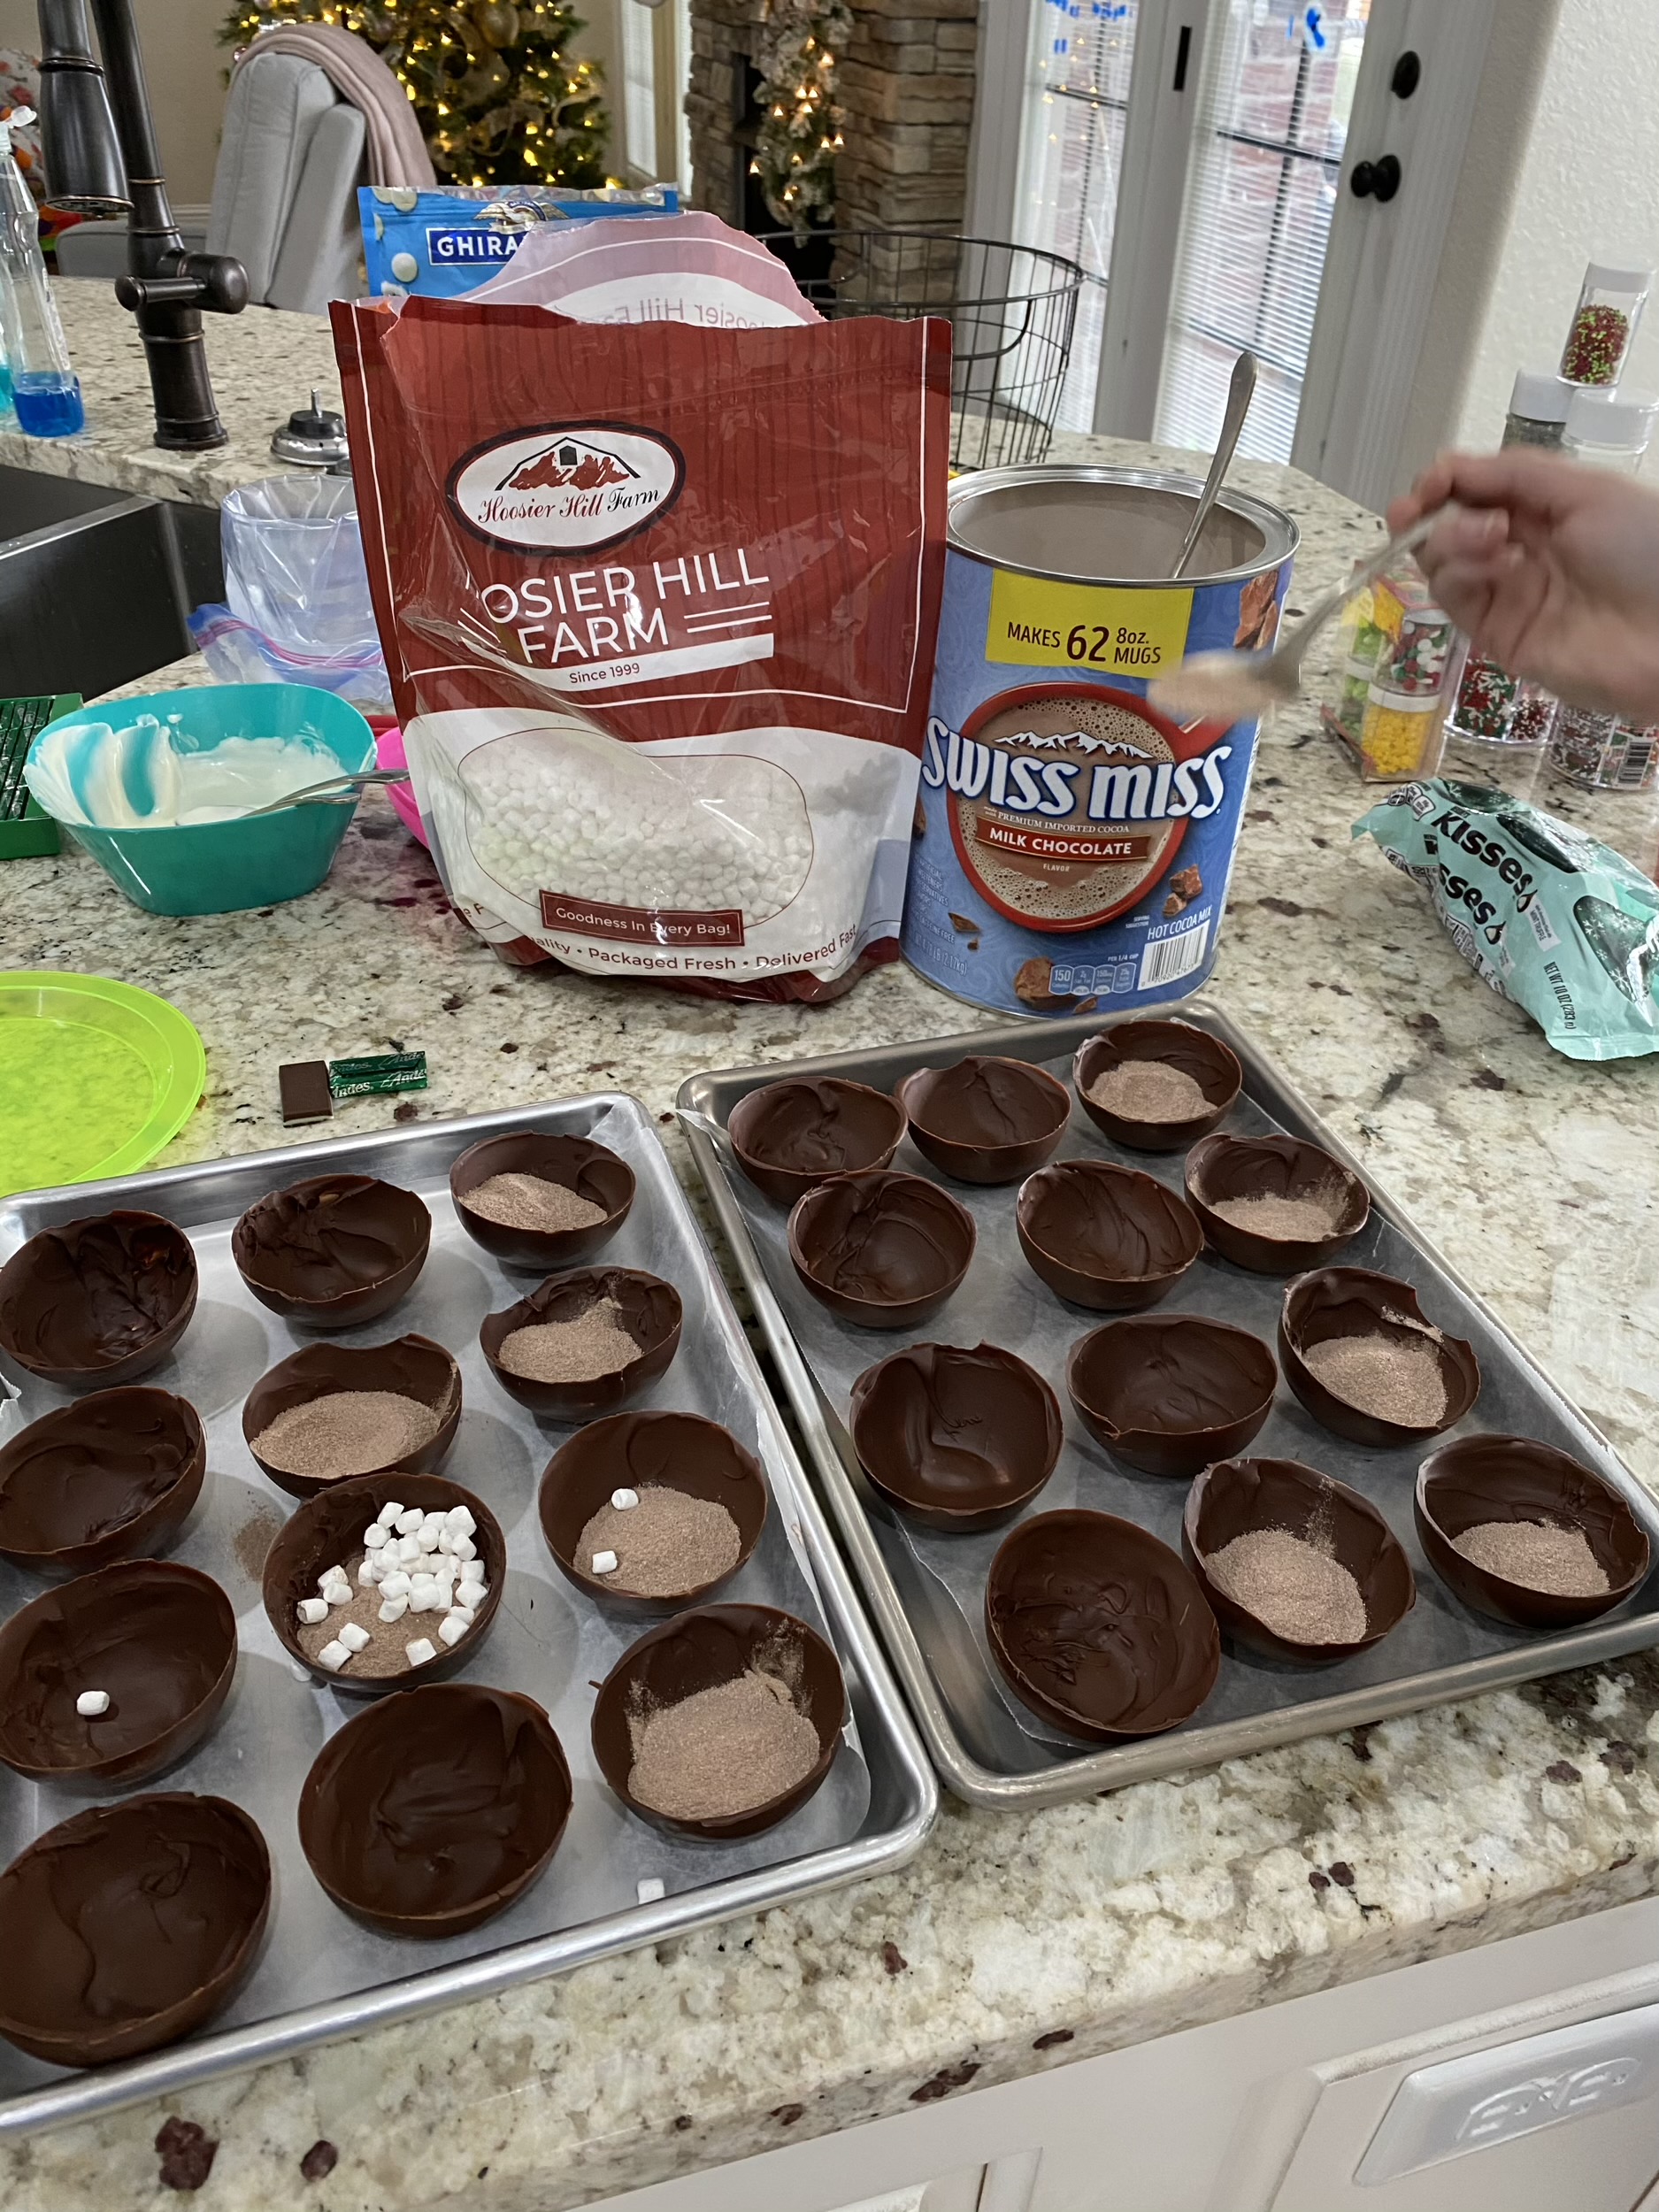
Once the molds have set in the freezer for about 5-10 minutes, remove and carefully pull the shell away from the mold by stretching the edges of the half sphere. This will loosen them enough to then peel them off the bottom. Place on a cookie sheet to begin assembly of the cocoa bombs.
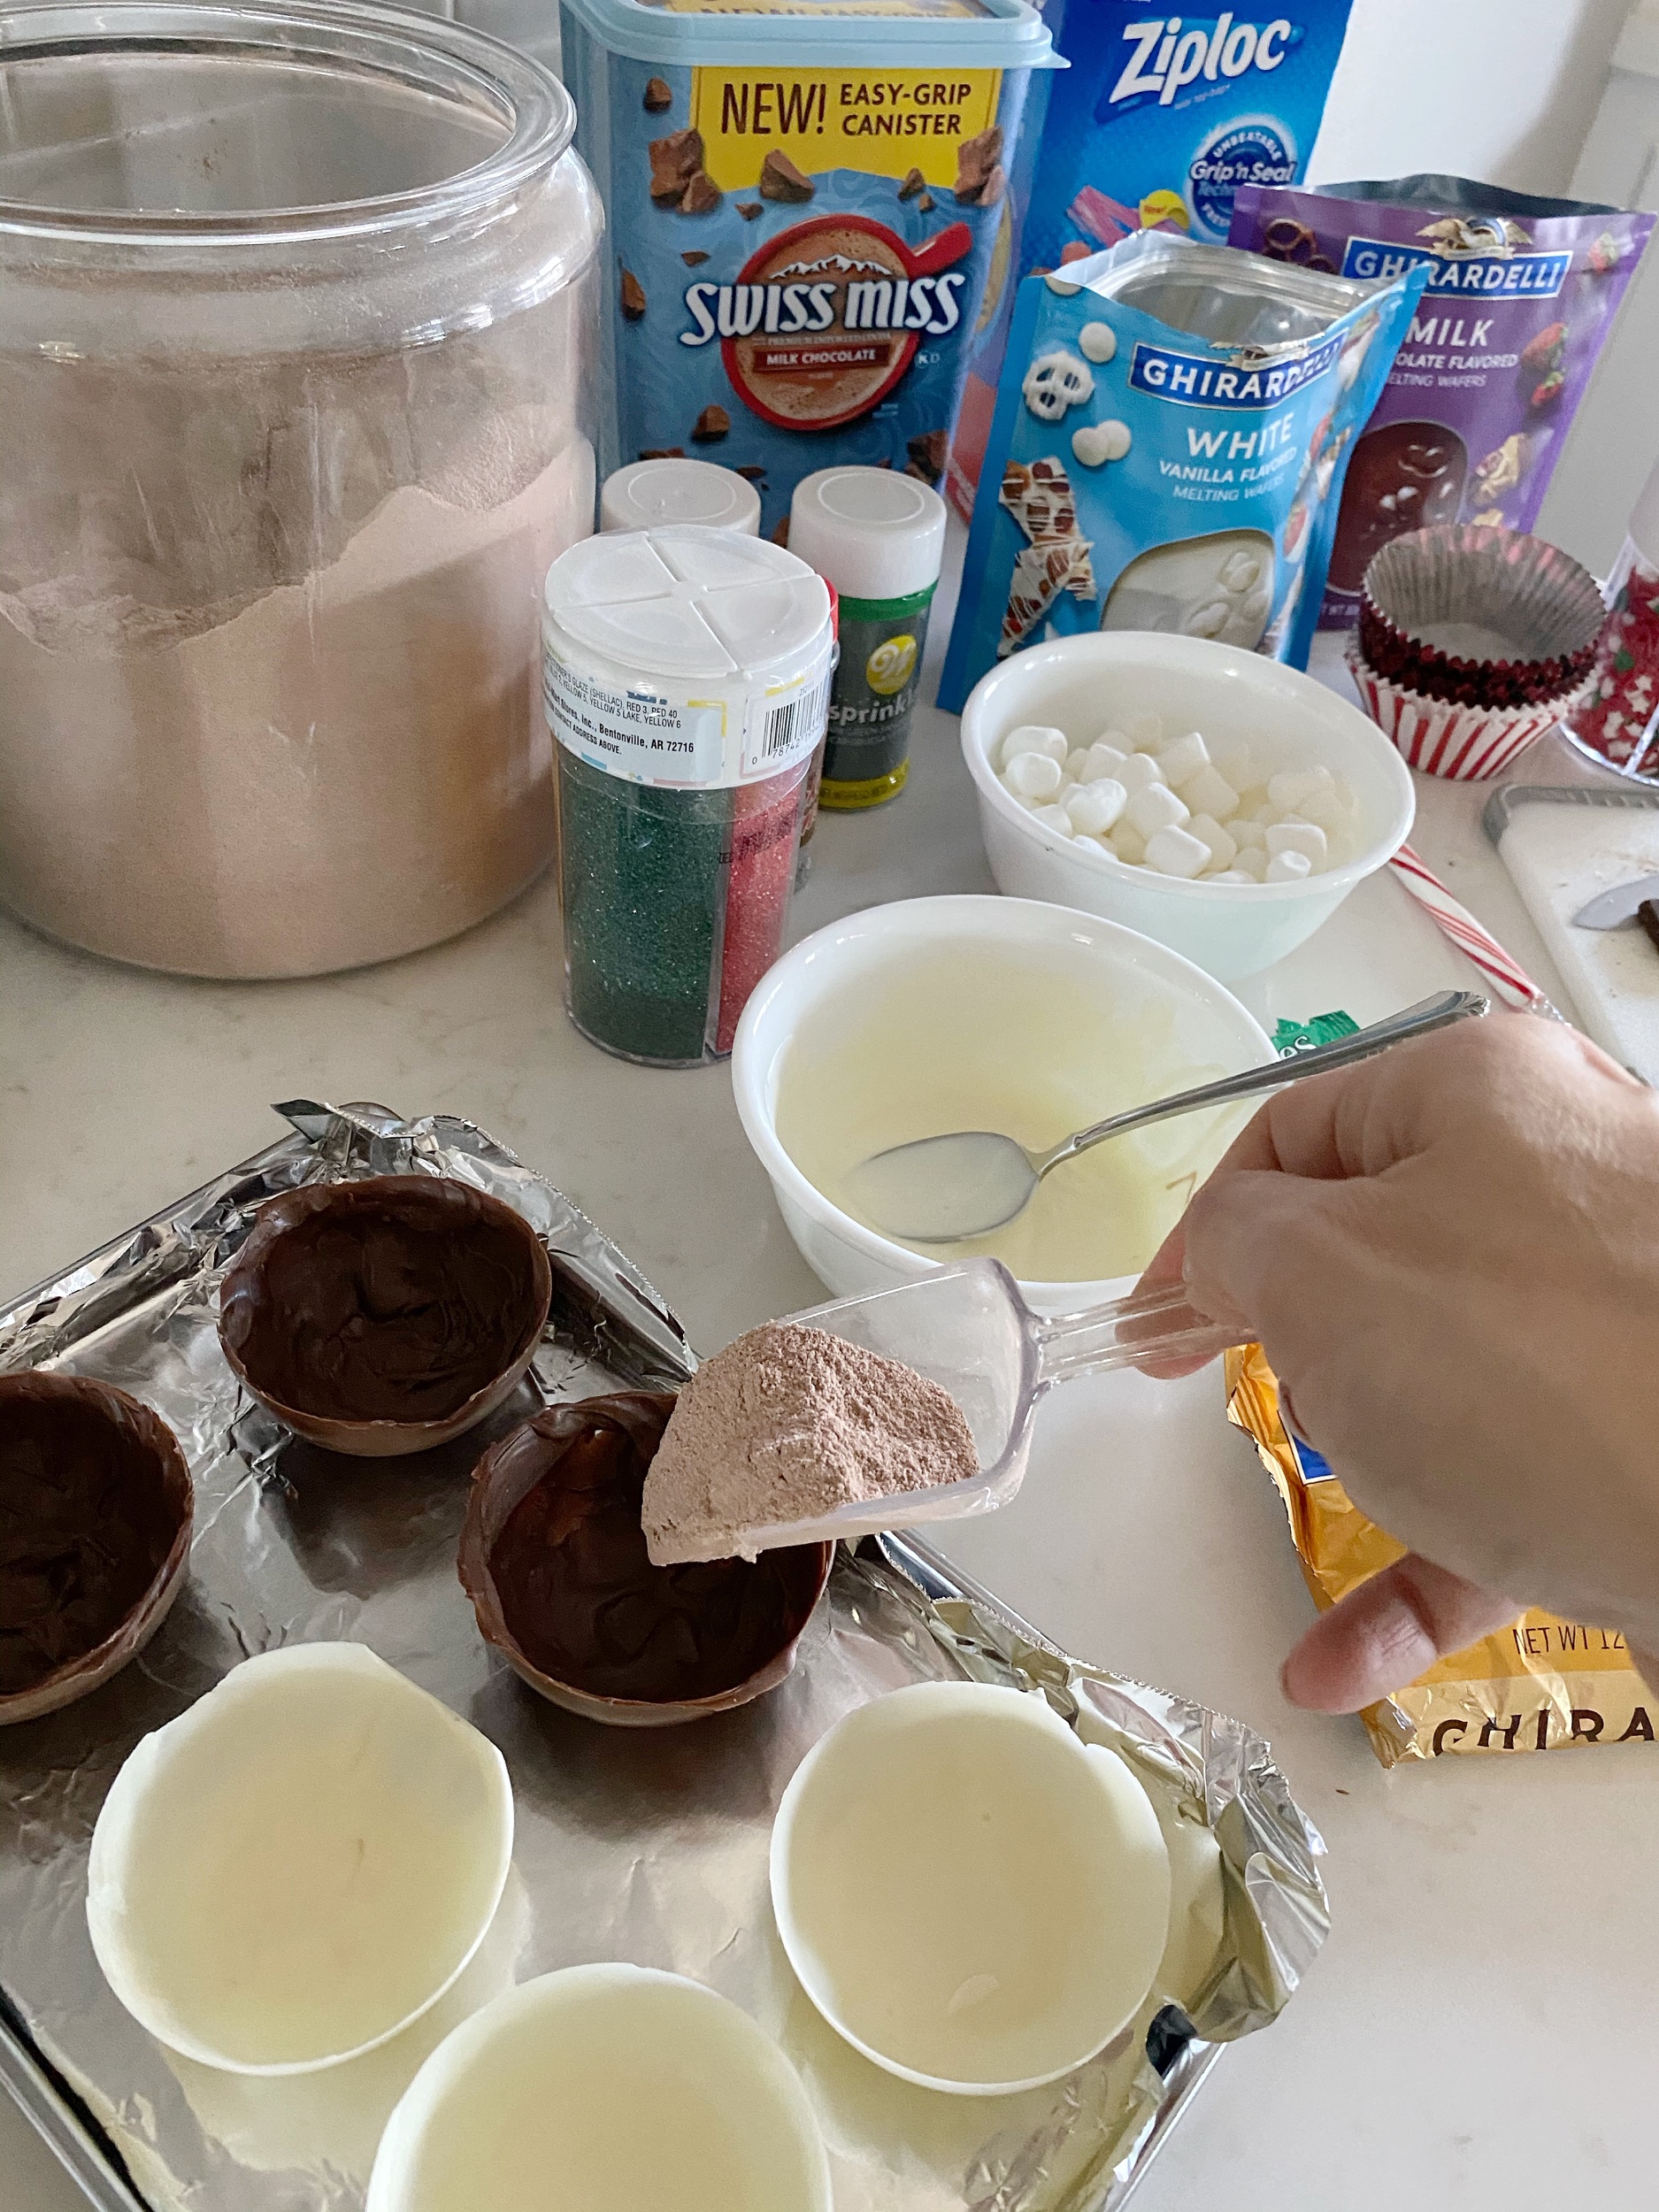
Refer to above recommendations on amount of cocoa and additional toppings.
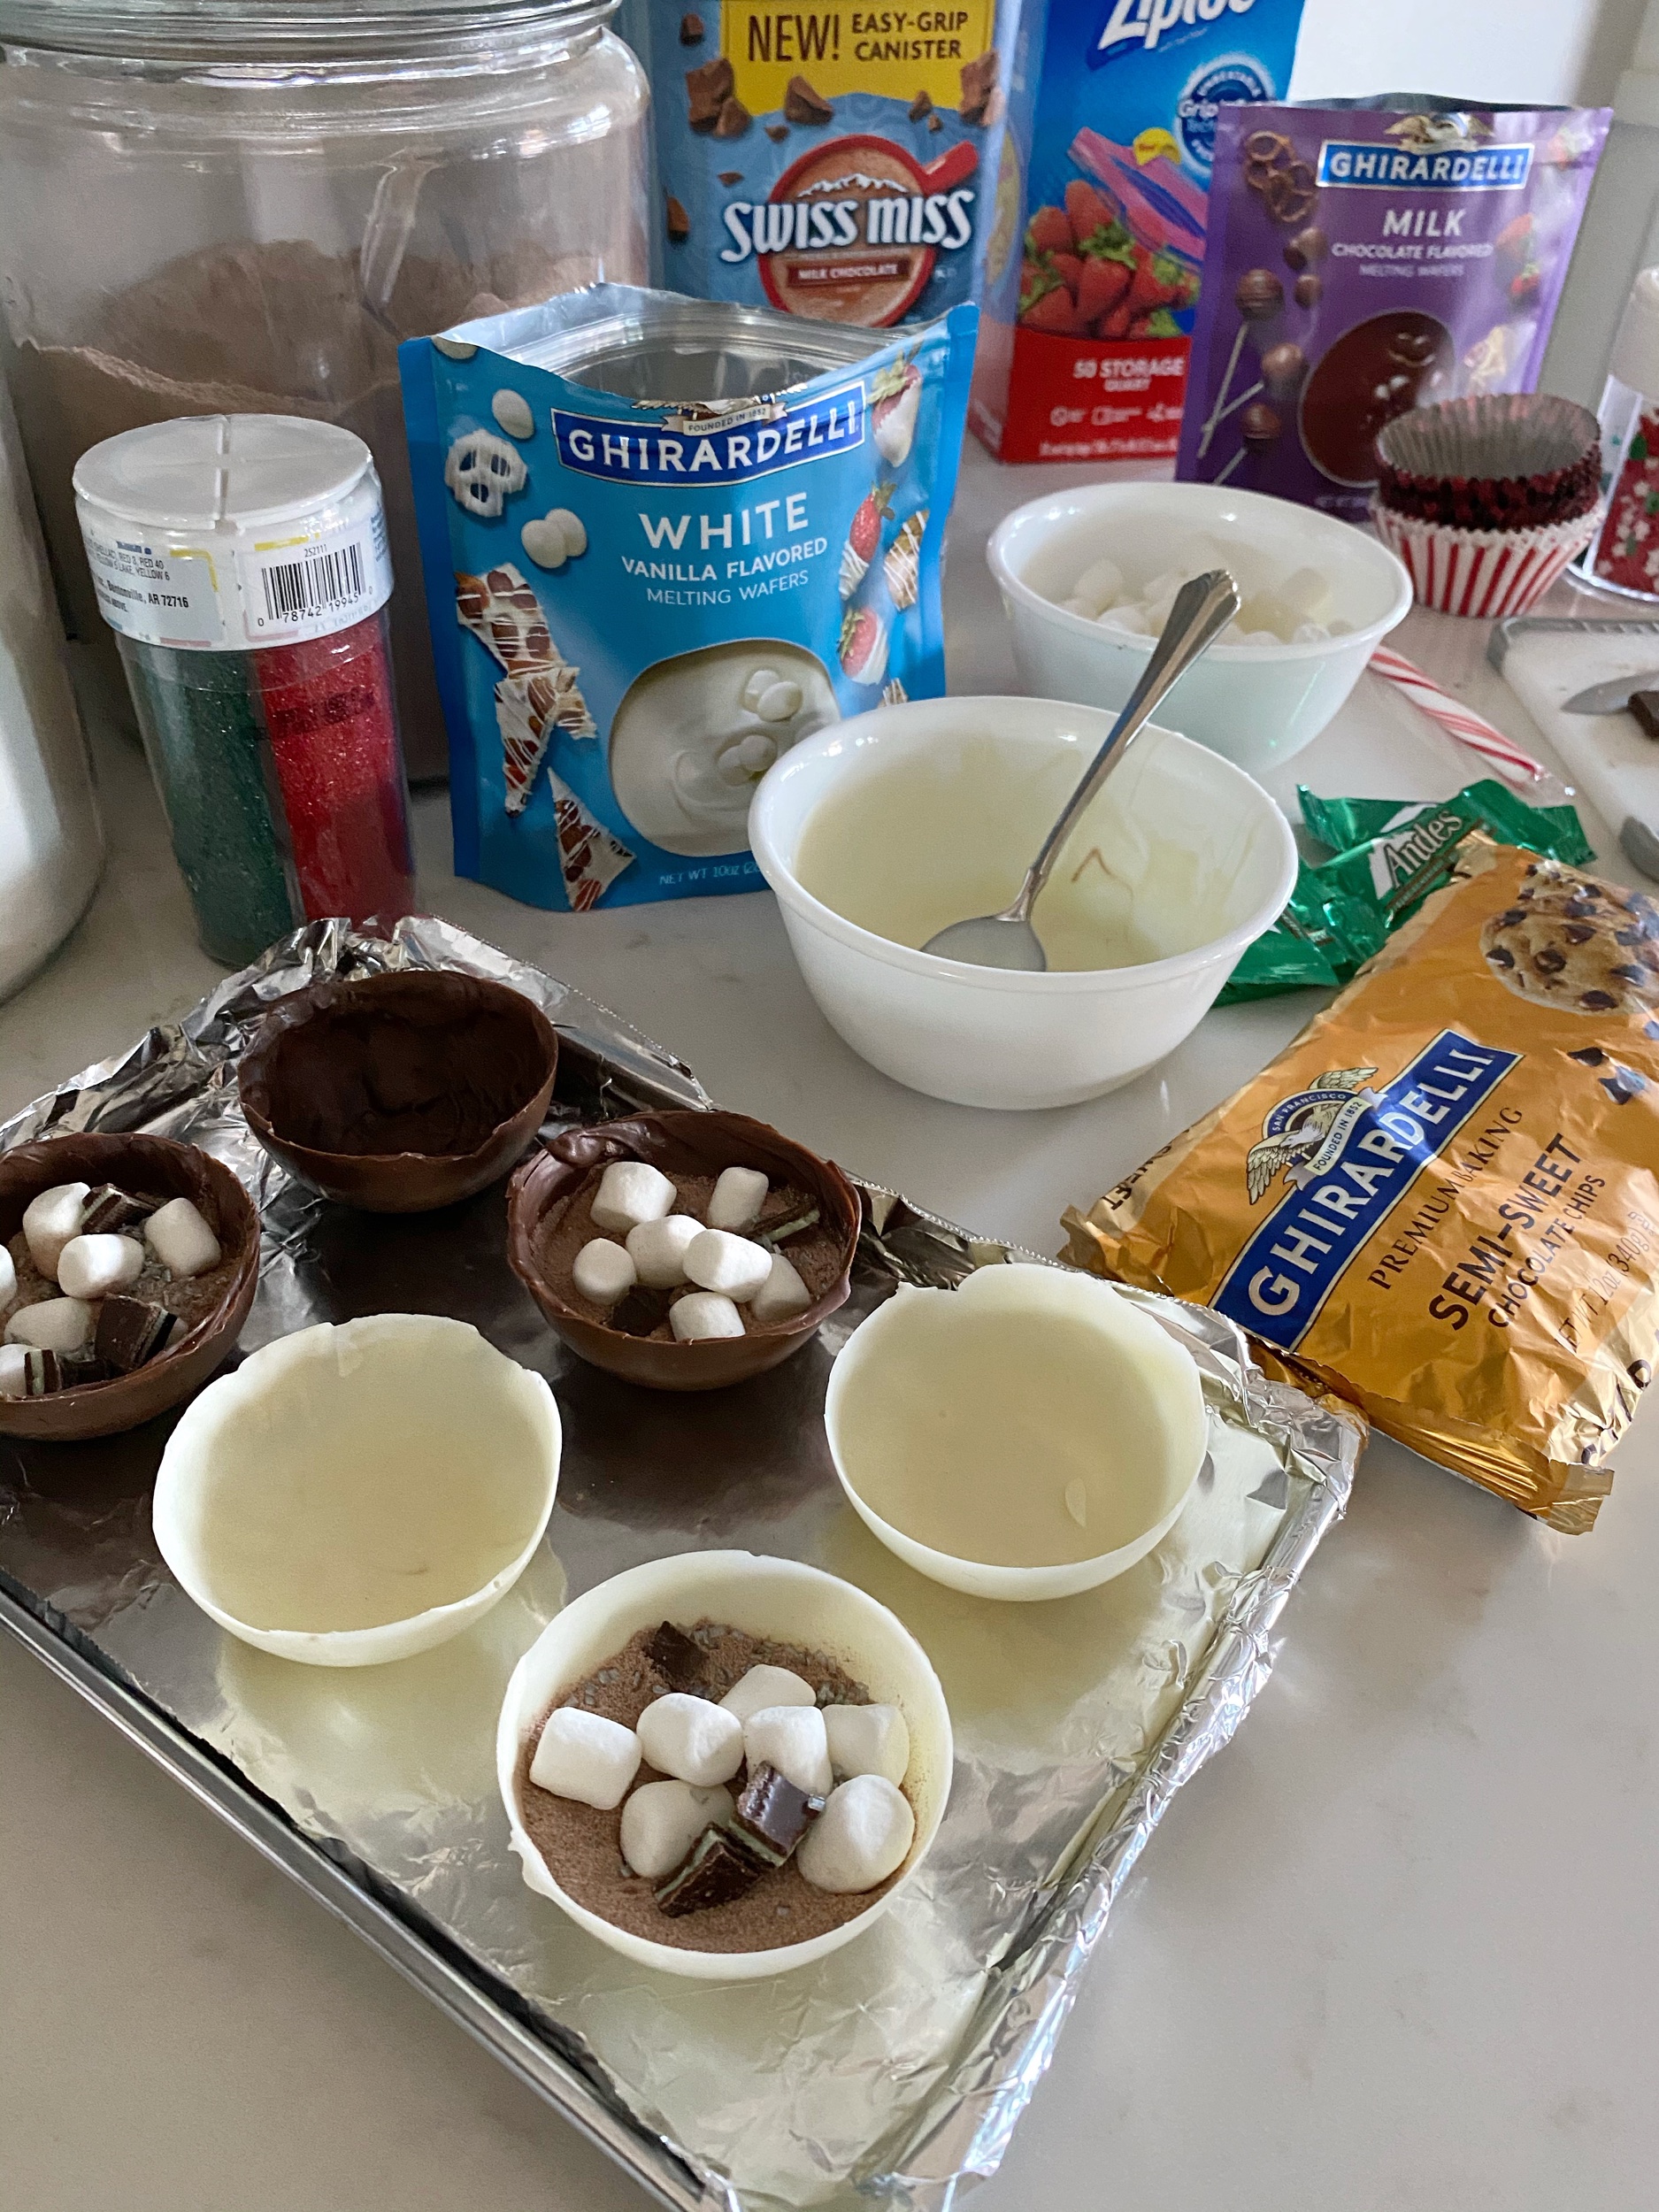
Remember, only fill half the shells with goodies and save the other shells as your top. I learned a trick to adding the top to create a good seal.
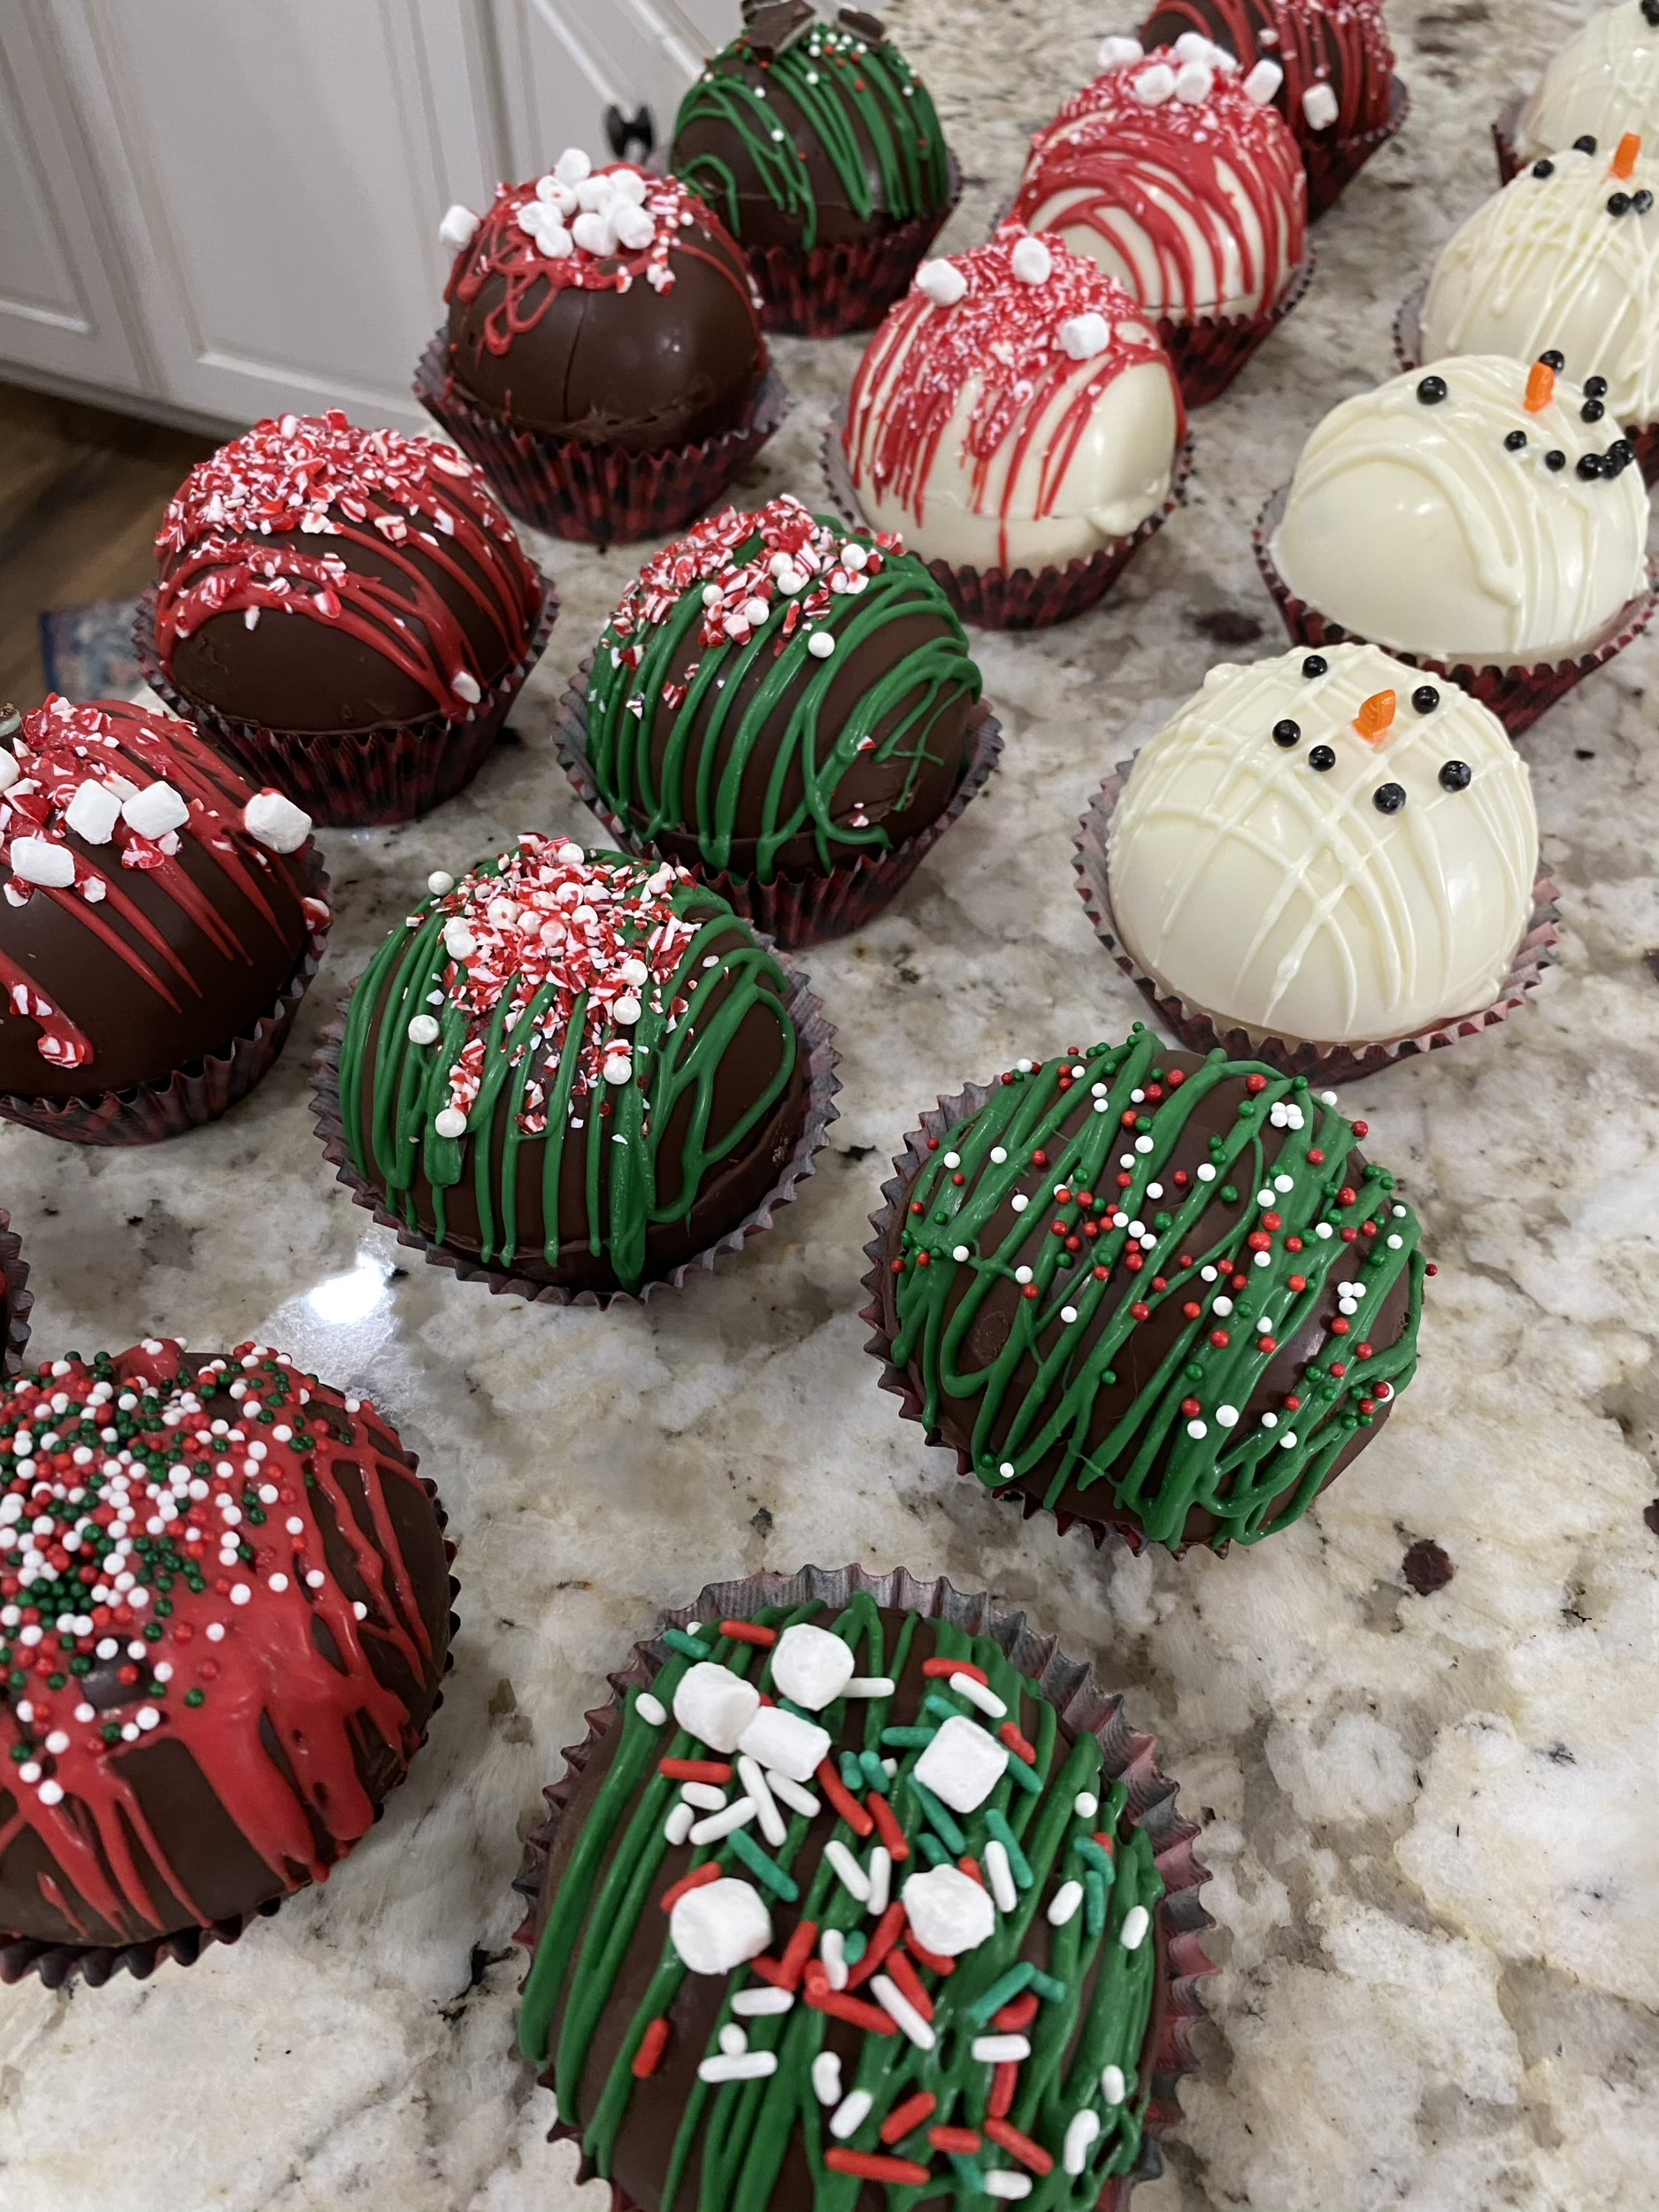
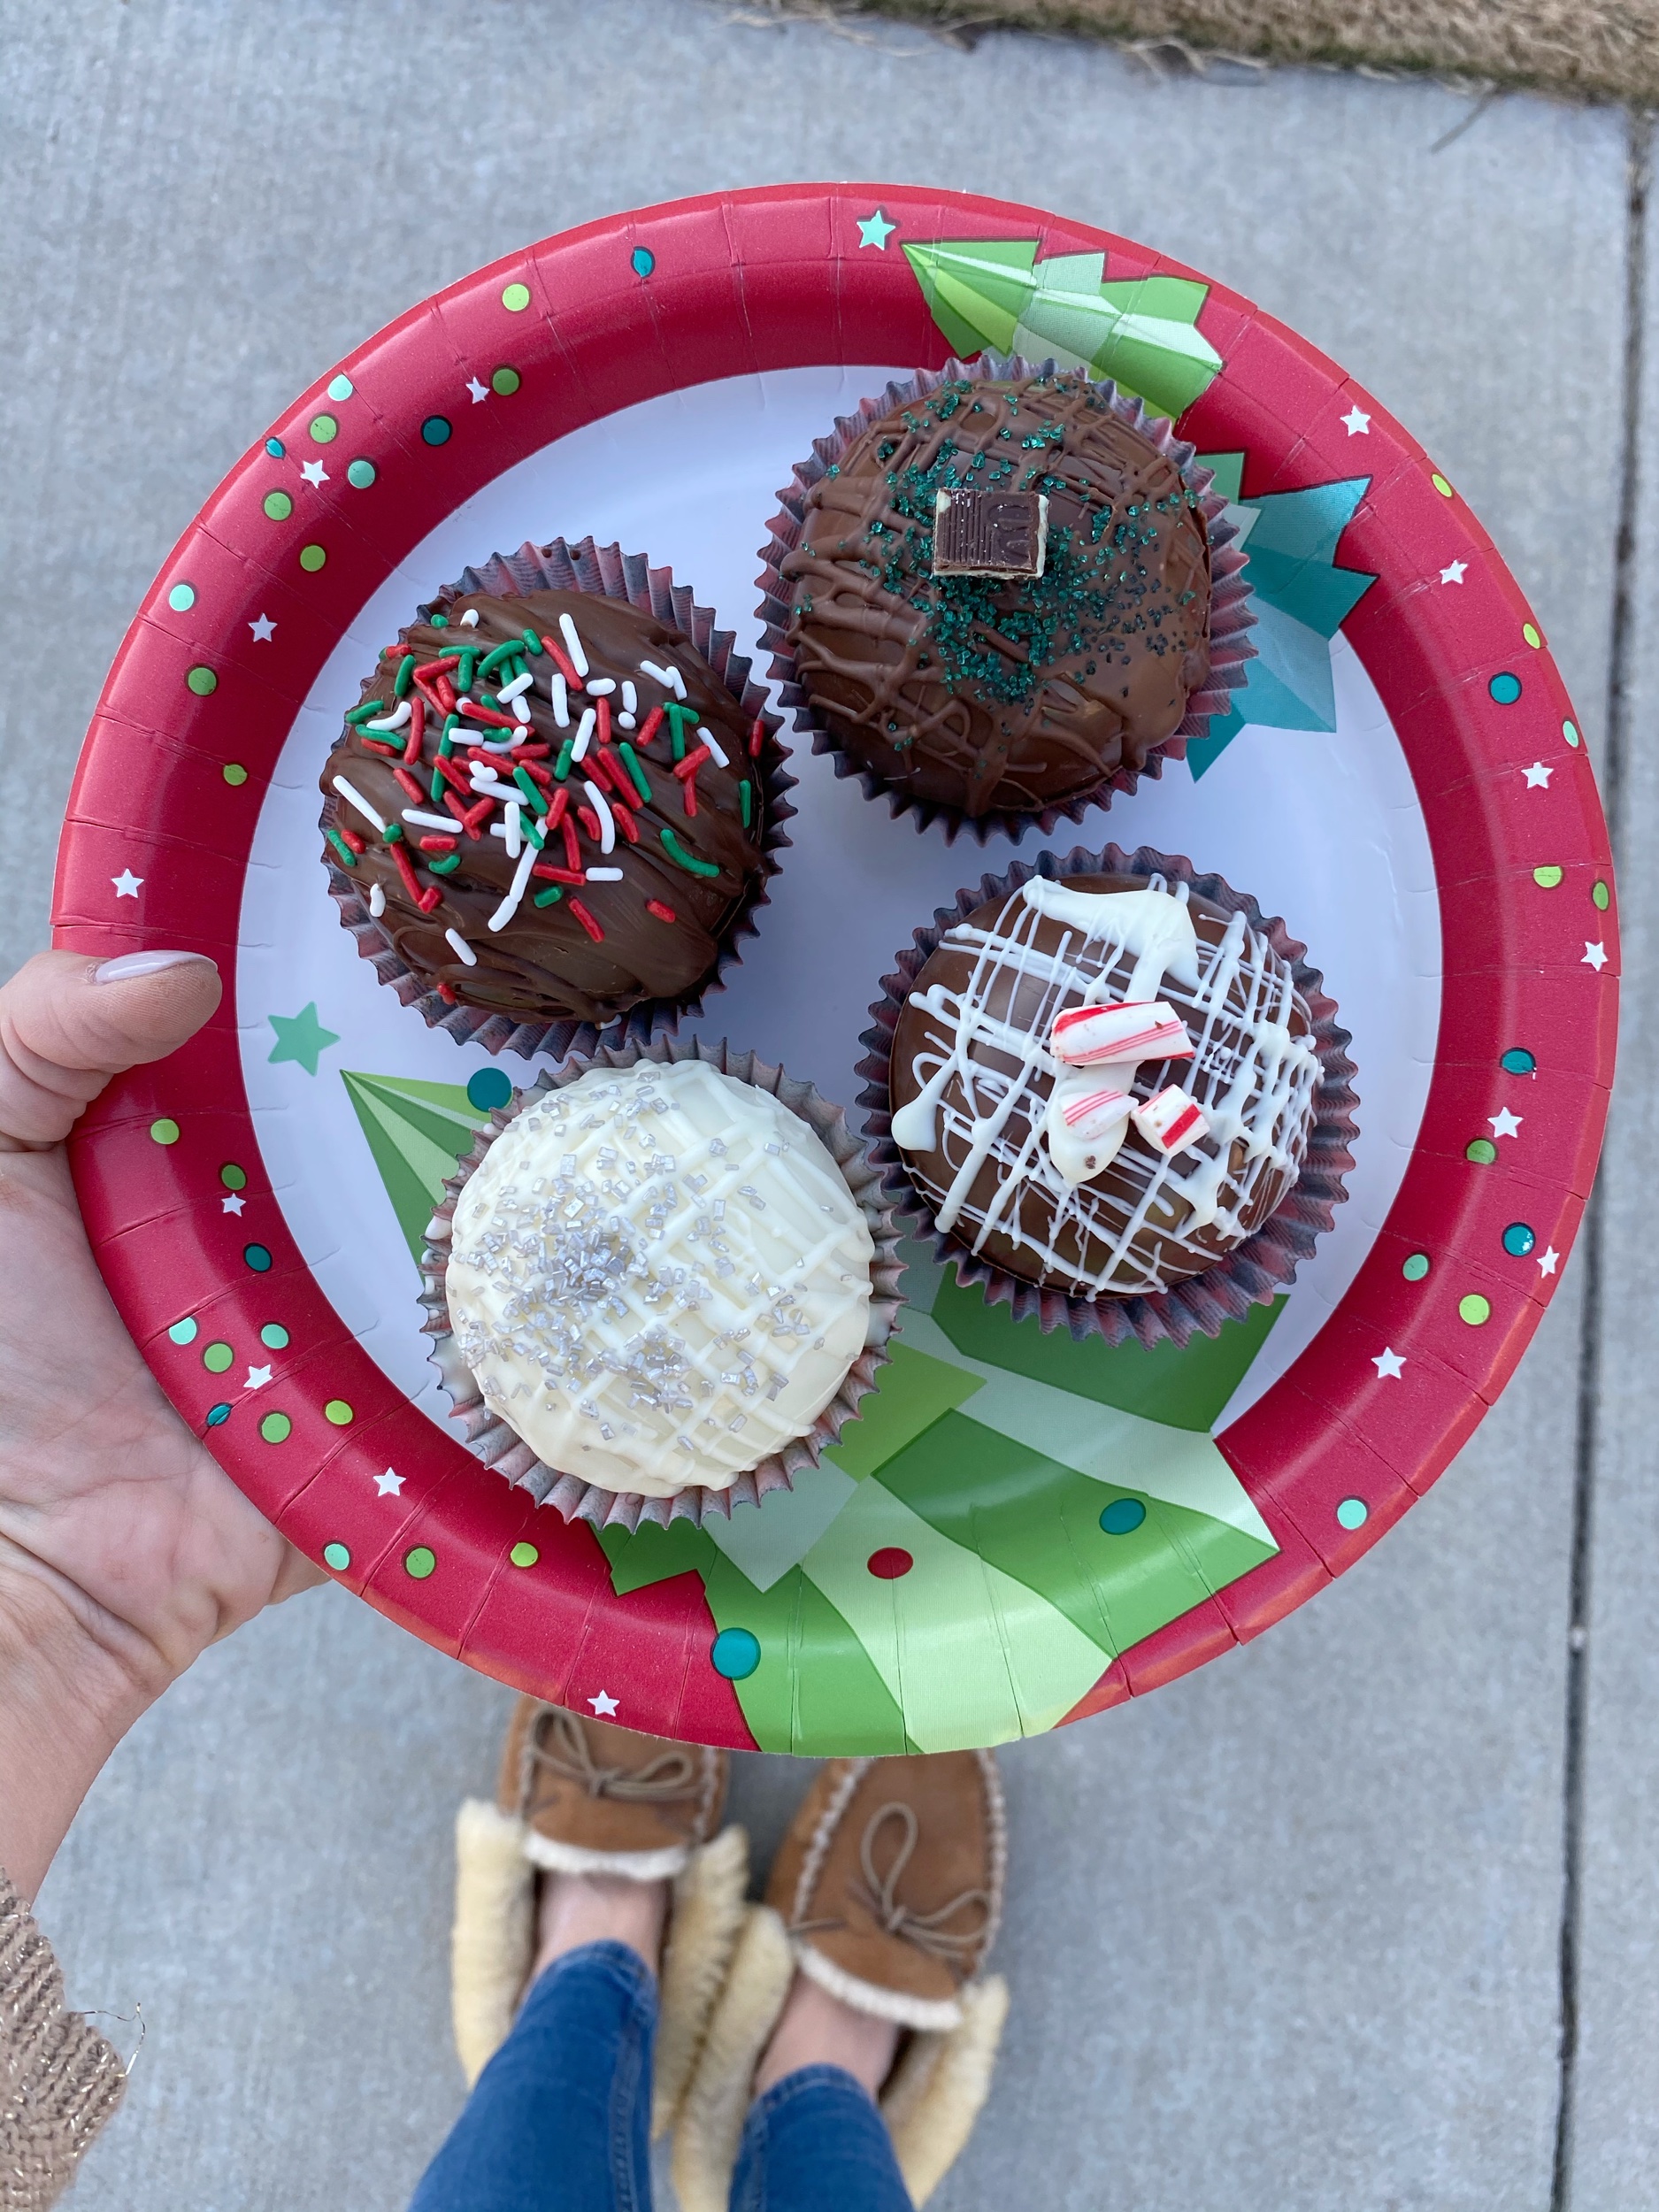
Tip: Heat a small skillet on low and carefully place the empty shell rim side down to melt edges slightly. Then, gently place empty half shell on top of shell with mixture to seal the bomb! Now, you’re ready to decorate the top of your cocoa bomb! Heat your wafers the same way you did to create the shells. Using a spoon, scoop a small amount of melted chocolate to drizzle over the top. While drizzle is still warm, decorate the top of each cocoa bomb with sprinkles, mint chips, mini marshmallows or crushed peppermint.
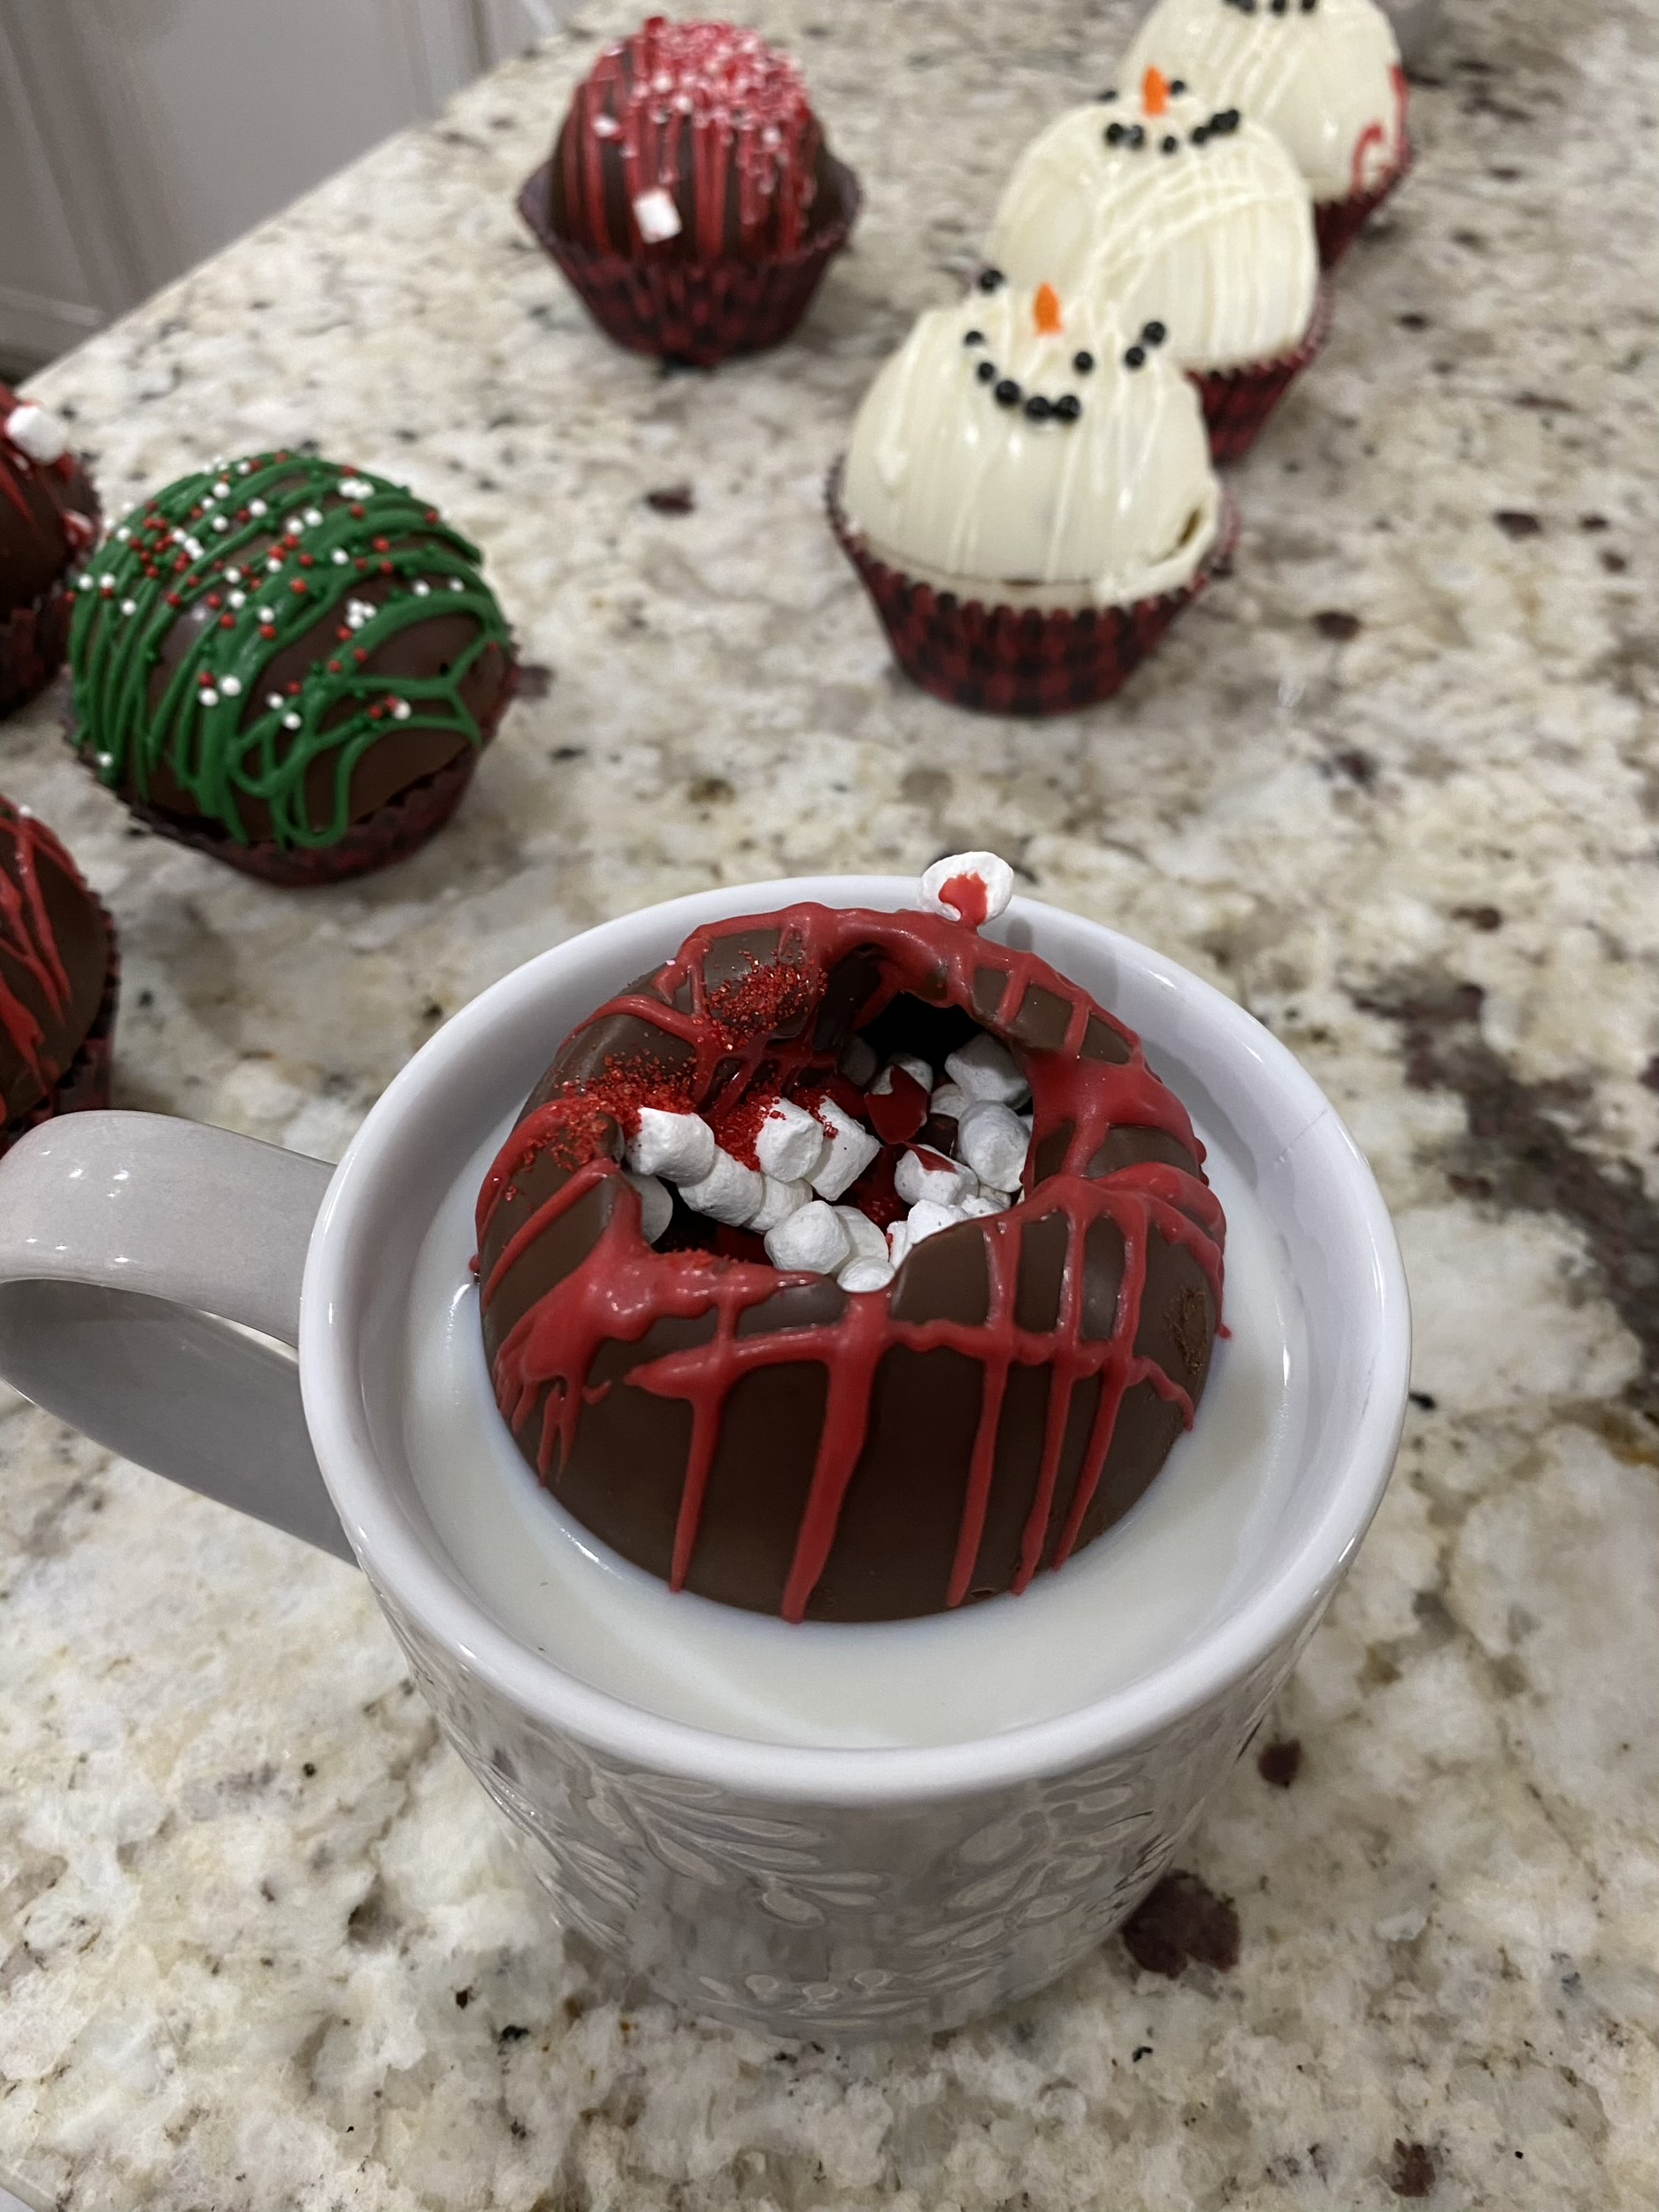
Tip: Be careful not to overheat the wafers or the drizzle will be too hot. This is what the inside of a hot cocoa bomb looks like when the drizzle is too hot and melts the top! Kinda cool, huh? Don’t let it go to waste, you can still pour it over steamed milk and enjoy!
Once you have all the hot cocoa bombs decorated, place them in festive paper baking cups and deliver to your friends! Tyler and I walked over to our friends house to surprise them with treats and they loved them!
I want to wish each and every one of you a very Merry Christmas! I hope you’ll give our favorite holiday treat a try and make sure to check out Walmart+ and all their benefits for a safer and easier shopping experience!
Blessings,
![]()
Leave a Reply